

Thursday, December 30, 2010
Tuesday, December 21, 2010
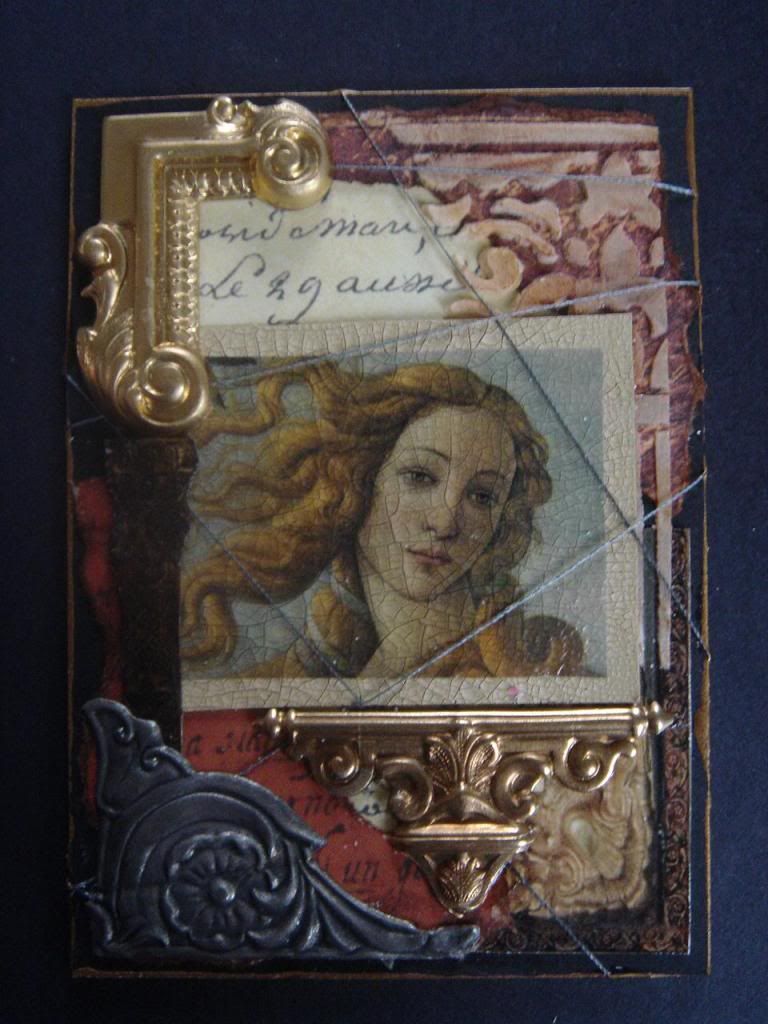
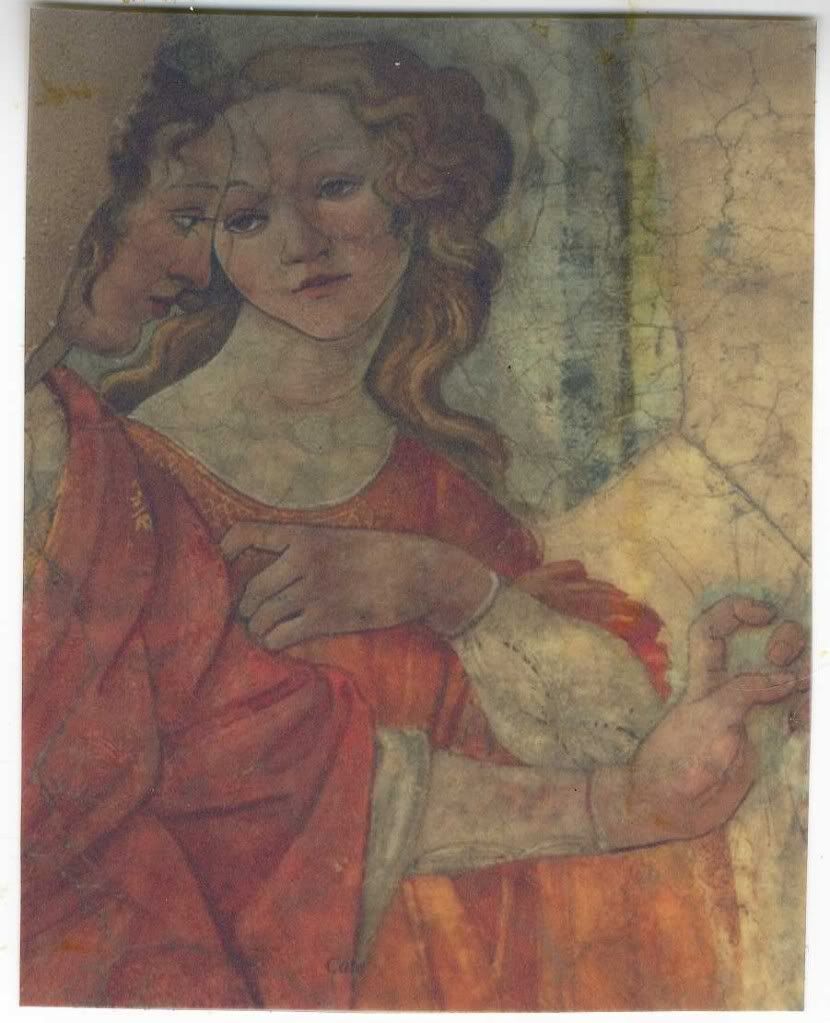
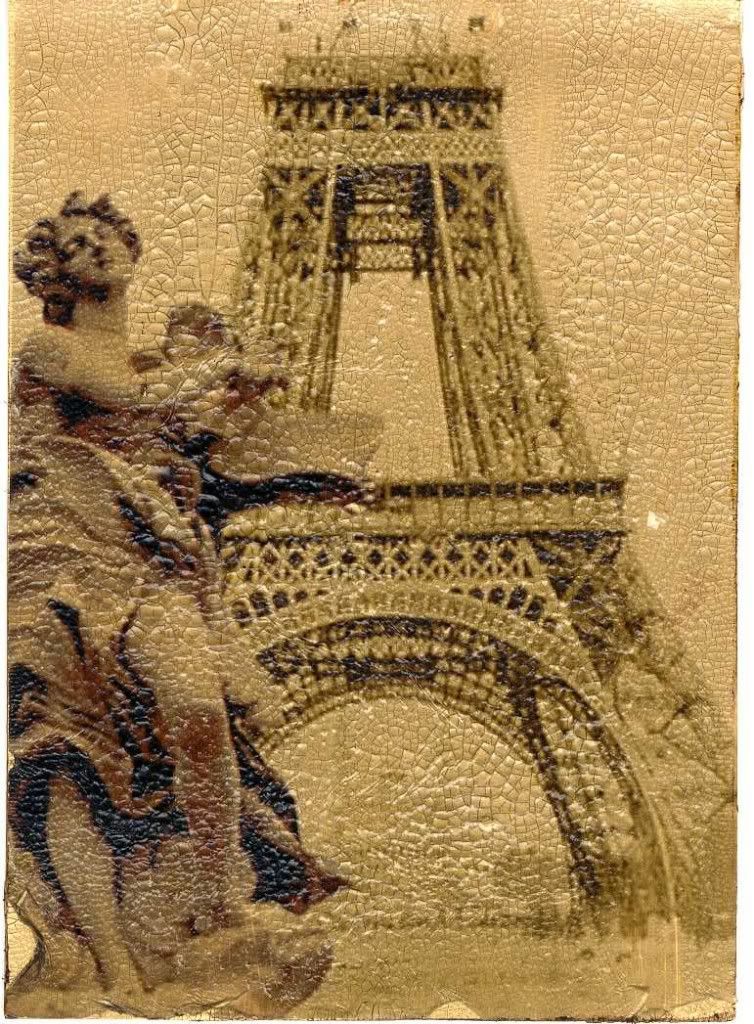
Tutorial – Aging and Crackling an Image using Grafix Rub-Onz Transfer Film and Ranger Distress Crackle Paint
When I was designing the ATC below I wanted the image of Botticelli’s Venus to have the look of an aged crackle painting. The problem is that the crackle techniques and products, with which I’m familiar, would cover the image when painted over with crackle medium and paint or crackle paint. I had been working with Grafix Rub-Onz for a while and I got the idea that maybe I could achieve the effect I wanted by first crackling paper and then applying a rub-on over the crackled paper. It worked! Not only does is look aged but also has a worn texture.
Step 1 – Crackling a Surface Using Ranger Distress Crackle Paint
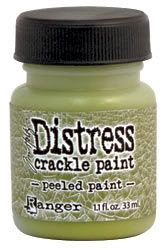
You can use any crackle method you choose but I find when working with small projects the Ranger Crackle Paint works the best because it gives you fine detailed cracks. If you use something like Delta’s Crackle the cracks are too large. Ranger Crackle is also nice because the paint and the crackle medium are all in the same bottle so it’s a one step process. With other methods, you must apply the crackle medium first, wait for the perfect level of dryness and then apply paint. With Ranger Crackle, just paint your surfacet; let it try and you’ll get a great result every time. Distress Crackle Paint comes in a large variety of colors. You can use this technique on any surface that the paint sticks to.
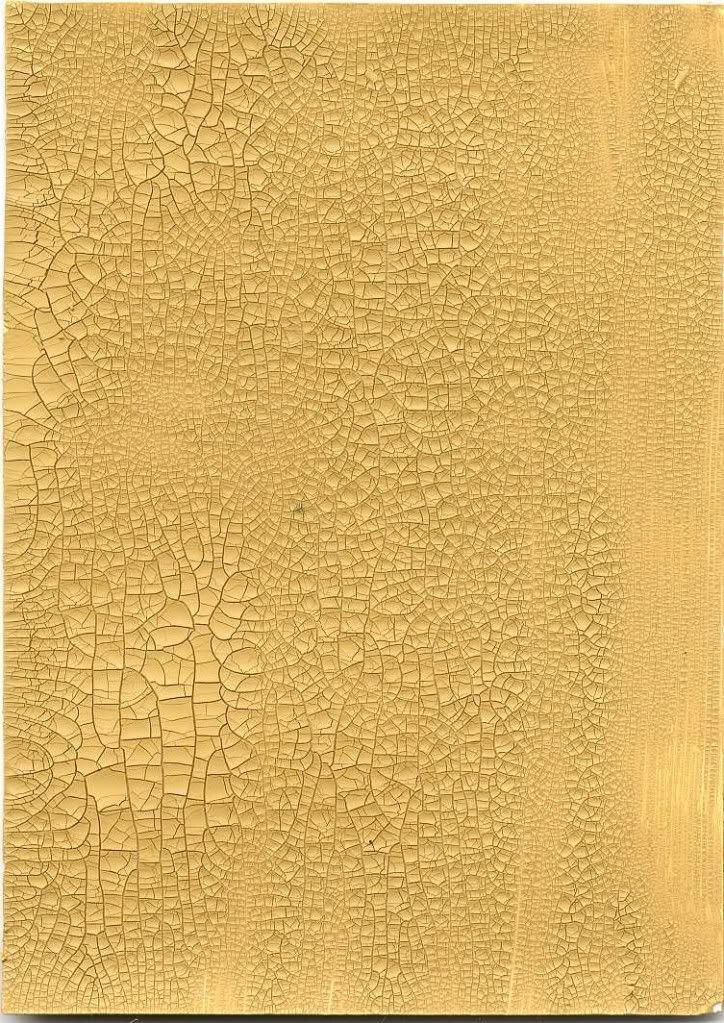
- First, stir the pot thoroughly as the crackle component of the mixture tends to sink to the bottom of the container. I use a popsicle stick.
- Apply a very thick coat to your piece stroking in one direction. Try not to over stroke the same area if possible. In other words, go over the same area as few times as possible.
- Let it dry and you should get a nice detailed crackle effect.
Below I used the color “Antique Linen” to crackle an ATC size piece of white cardstock. Crackle paint and cardstock color combinations give different results. For example, if you use the crackle color “Picket Fence”, which is white on black cardstock the end result will be a light blue.
TIP: Crackle paint is a use it or lose it product, as it slowly dries out once you open the container. I check my containers every so often and add water so they don’t dry out.
Step 2 – Create a Rub-on Using Grafix Rub-Onz Transfer Film
I’m not going to cover the steps to create a rub-on as they are covered in the tutorial “How to Create Your Own Grafix Rub-Onz. Here is the link http://artfullymusing.blogspot.com/2010/12/tutorial-create-your-own-rub-ons-using.html
Step 3 – Apply the Rub-on To the Crackled Surface
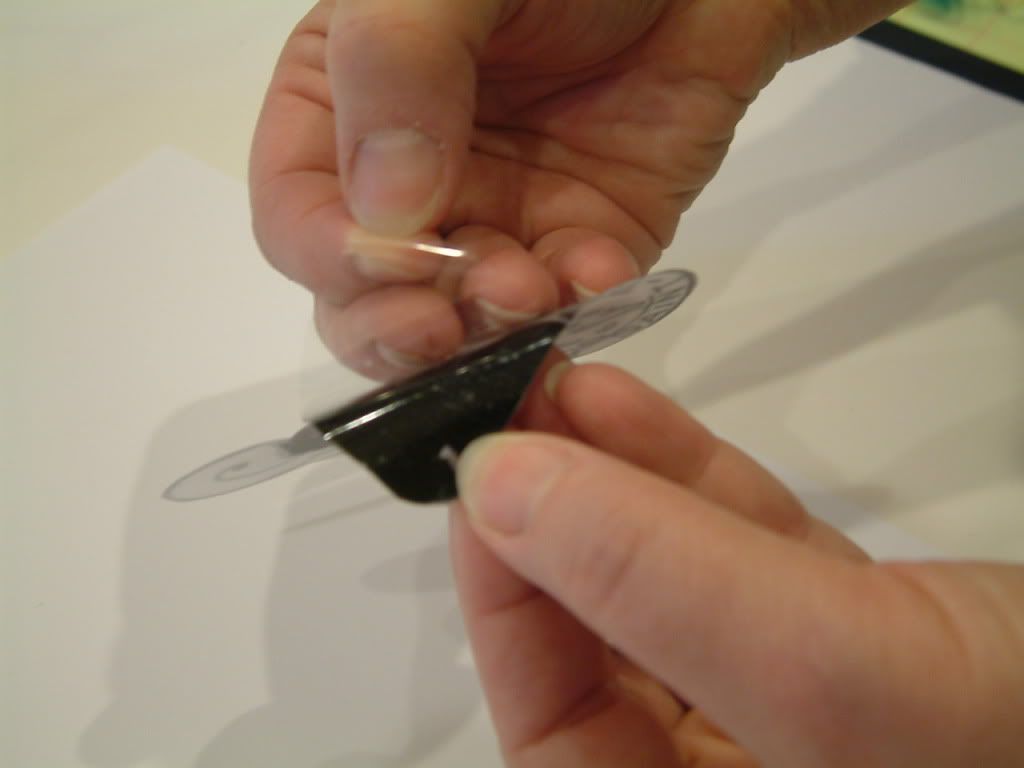
- Once you have created your rub-on, separate the transfer film from the adhesive film at the edge.
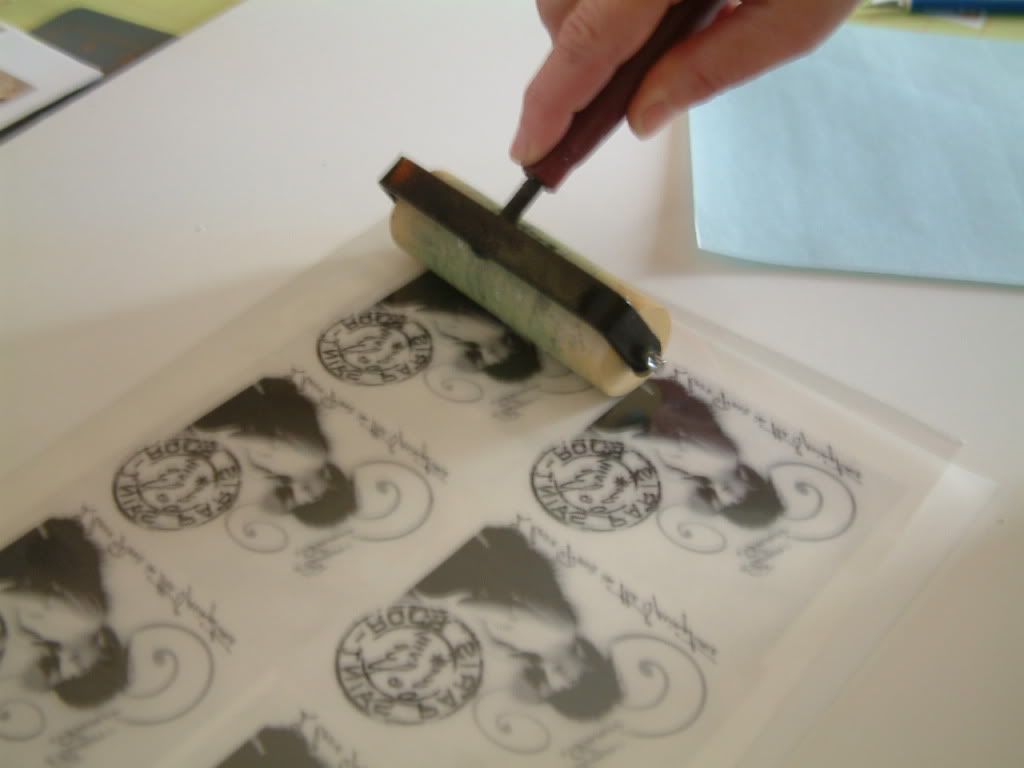
- Place the image (sticky side) on to the crackled surface and using a popsicle stick, rub the image until you can lift the transfer film.
- Once you’ve removed the transfer film rub the image with your fingers to press the rub-on into the cracks.
- You’re done and ready to embellish.
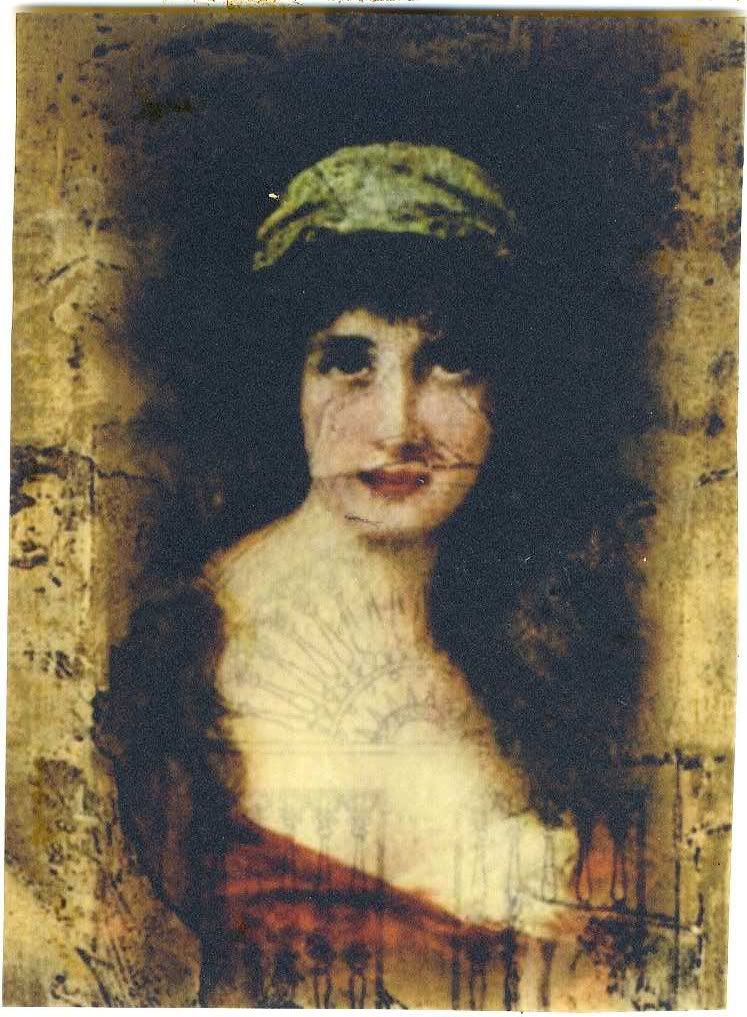
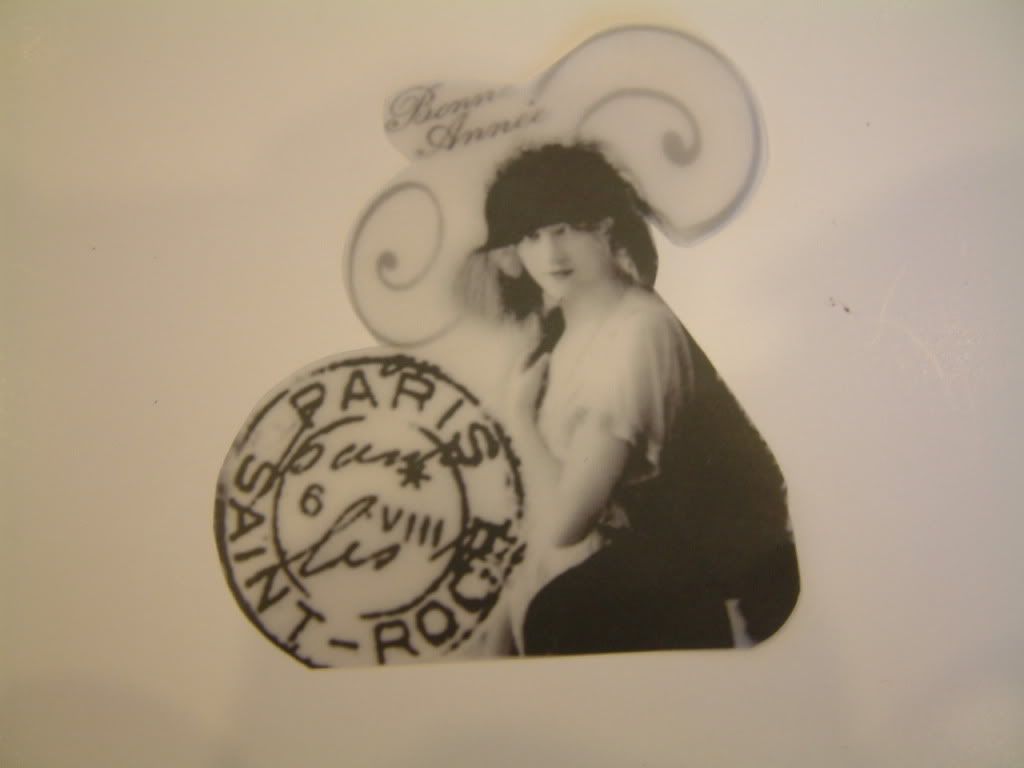
Rub-On
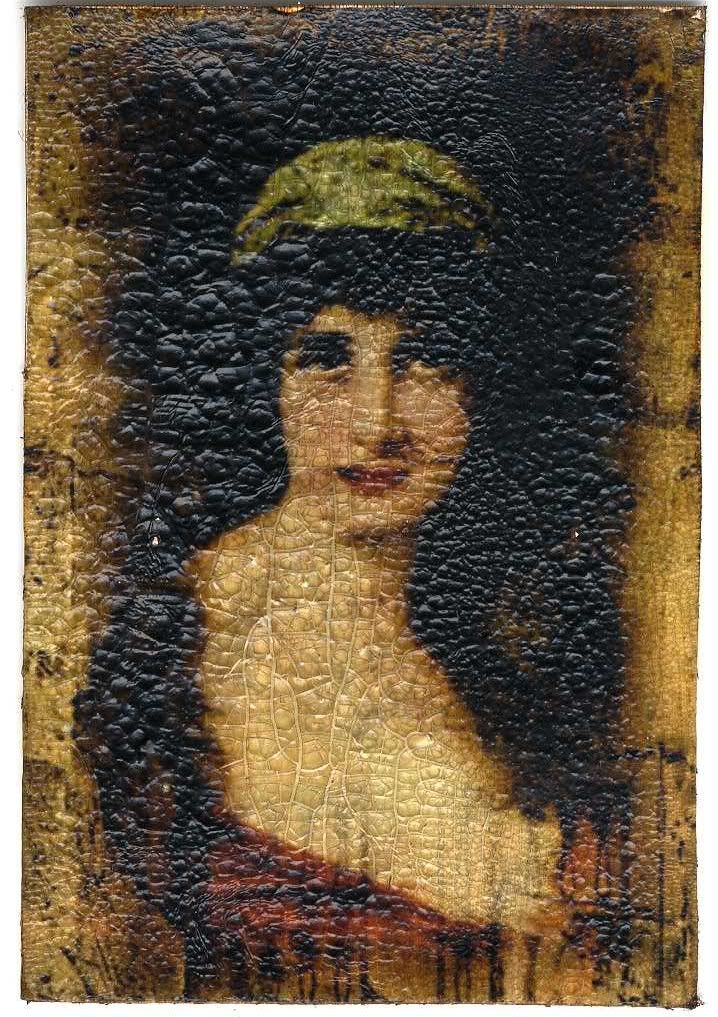
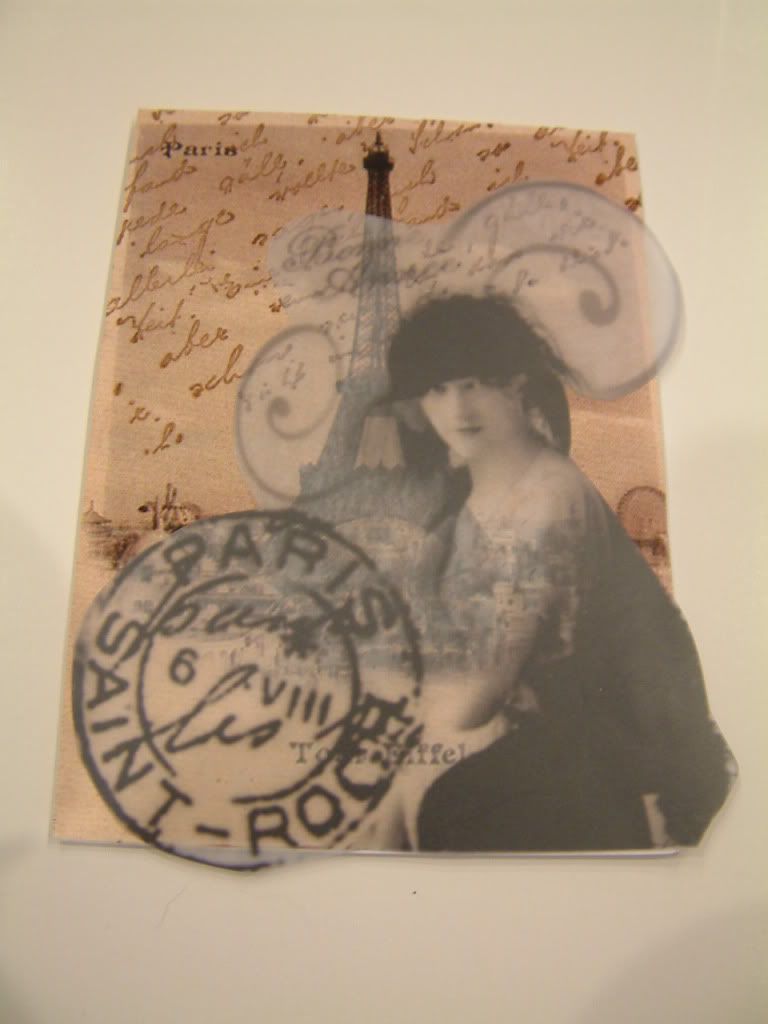
Rub-on Applied to the Crackled Cardstock

Finished ATC

More Examples of the Technique
Rub-On
Rub-on Applied to the Crackled Cardstock
Rub-On
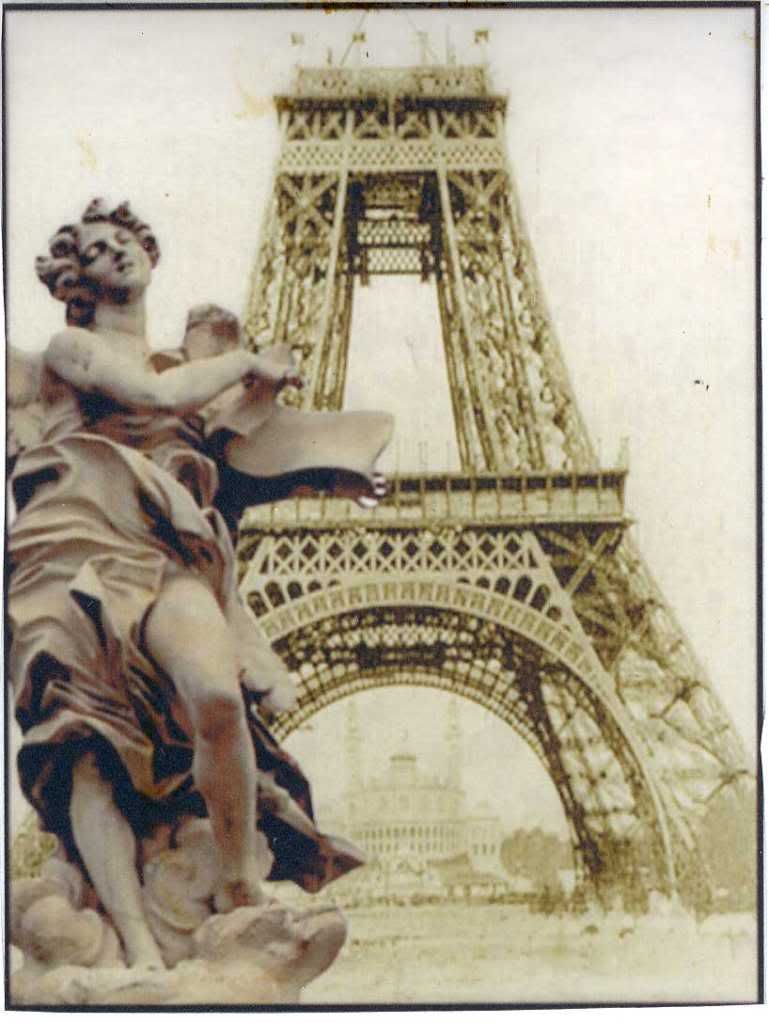
Rub-on Applied to the Crackled Cardstock
You can purchase Ranger Distress Crackle Paint at http://www.franticstamper.com/search.asp?keyword=crackle&sortby=0&catid=591
The Grafix website where you can find sites to purchase Rub-Onz Transfer Film
Click here to download PDF file of this tutorial https://docs.google.com/viewer?a=v&pid=explorer&chrome=true&srcid=0B3KkKmhVX3Z4MTViOTQ4NmUtMjcwOS00NTMxLTk1ZDEtZTg2MTk0ZmFmZjk1&hl=en
Friday, December 17, 2010
Red Faberge Egg ATC
I'm working on a series of four Faberge Egg ATCs and this is the second in the series. To see the first click here. The engineering on this one was more complicated than the first as I wanted the white swan to appear in the middle, whether or not the egg is opened or closed.
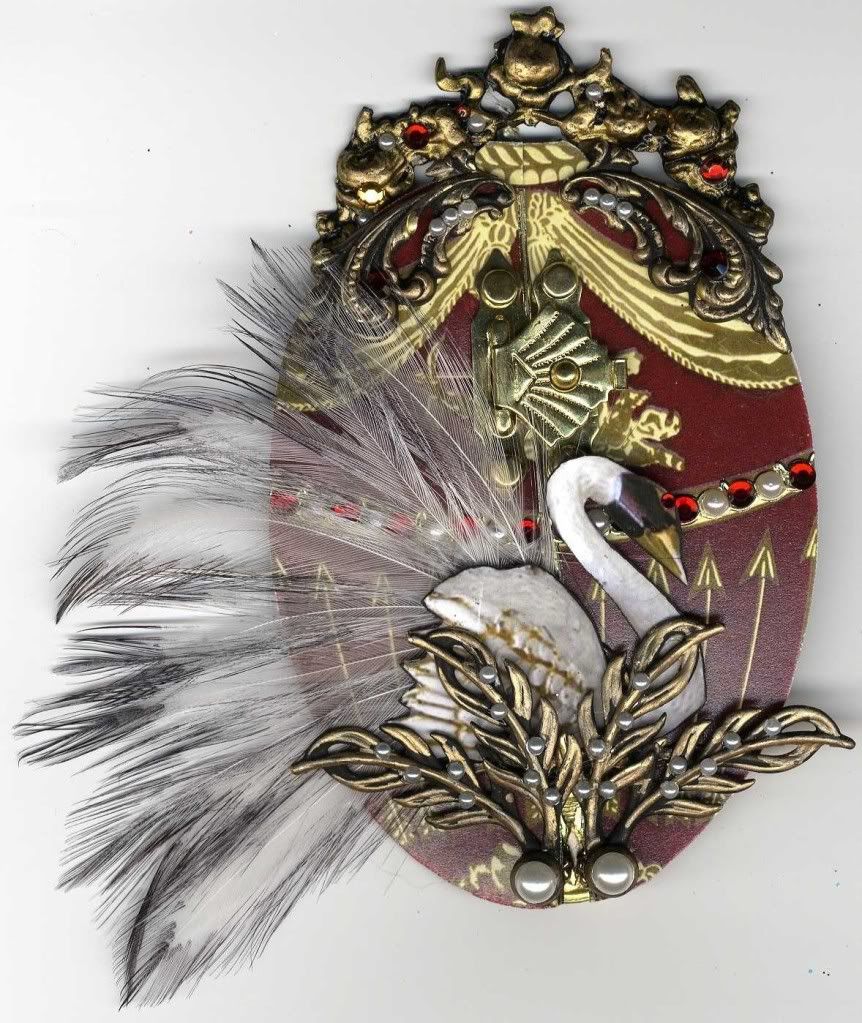
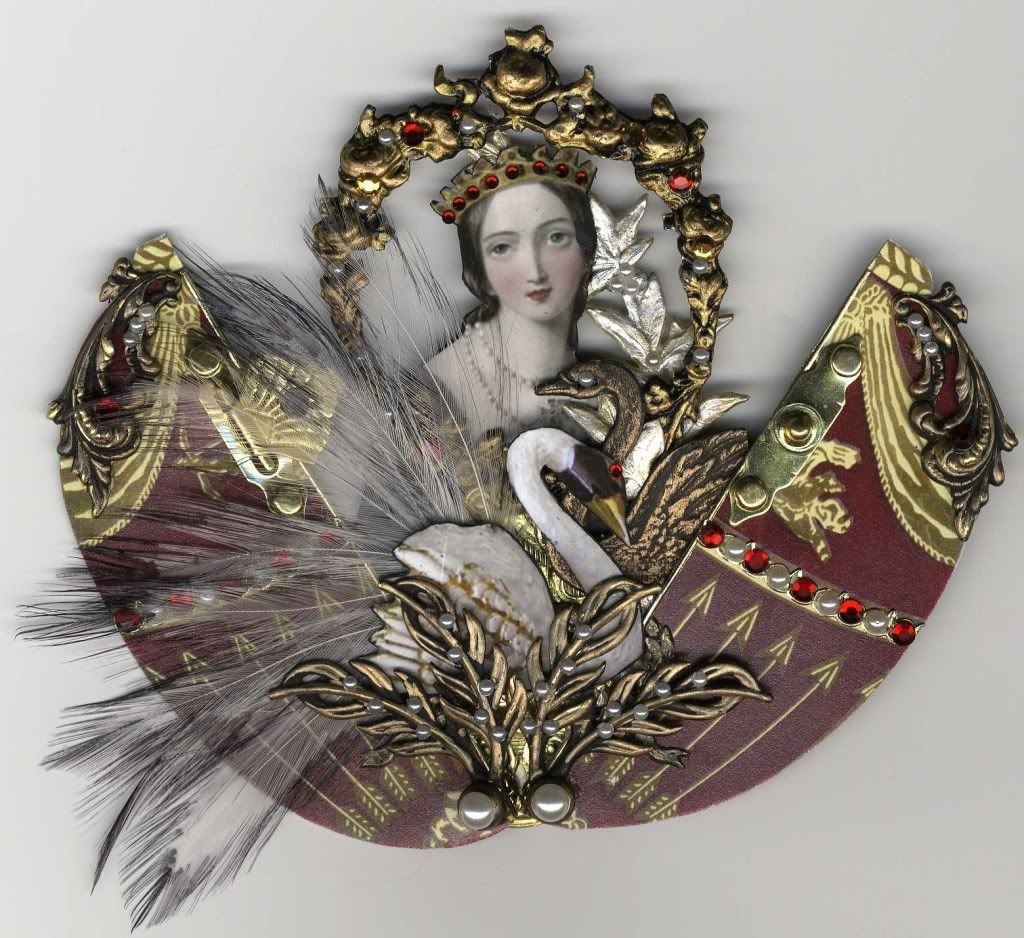
I purchased the German Scrap (black swan, laurel leaves, and decorative gold piece under the white swan) from Collage Stuff. I added the gold to the black swan using gold Rub’n Buff. I purchased the metal charms & findings from Fancifuls Inc. I purchased the metal picture frame from Ebay. I painted the metal items first with black, then lightly with gold, then I applied gold Rub n’ Buff. The point of this process was to give them dimension.
Monday, December 13, 2010
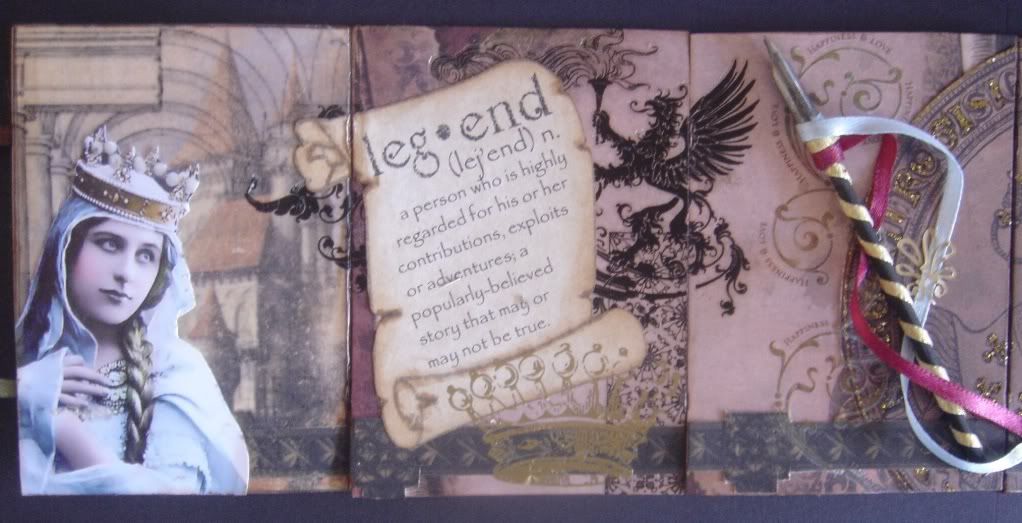
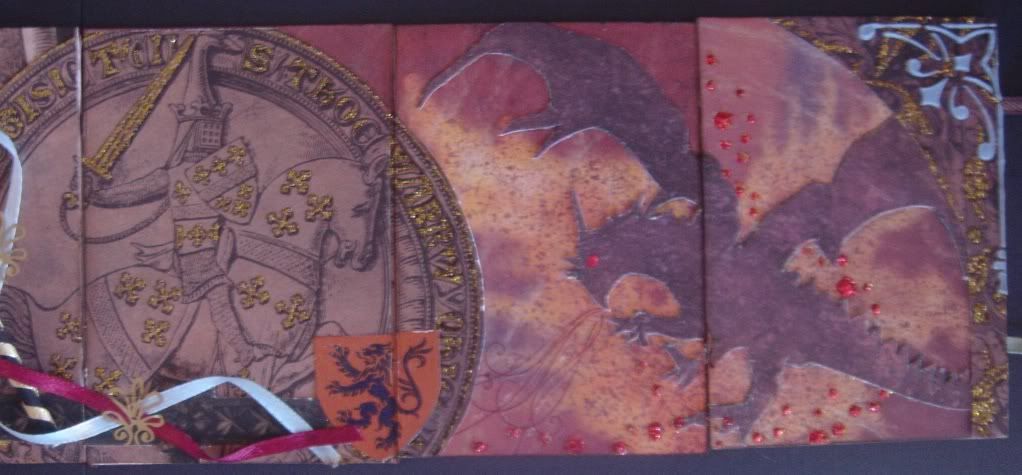
Thinking Out Of the Box - Book ATCs - Medieval Times Knights
This ATC book titled “Legend” is connected using two ribbons that run along the back of all of the cards.
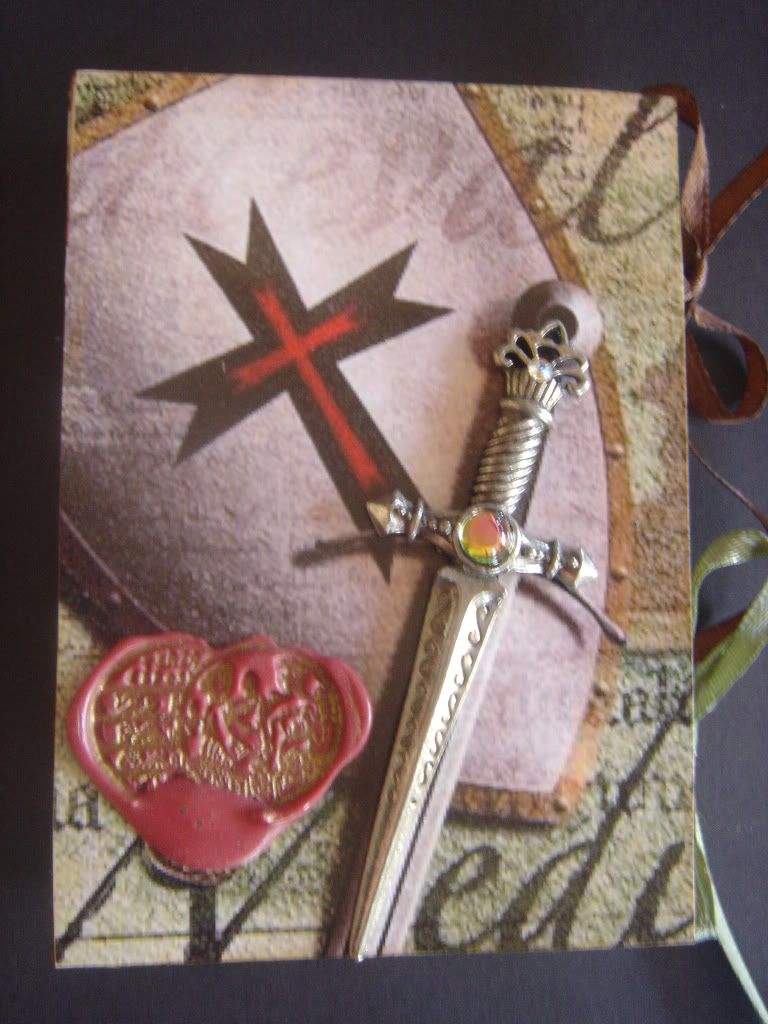
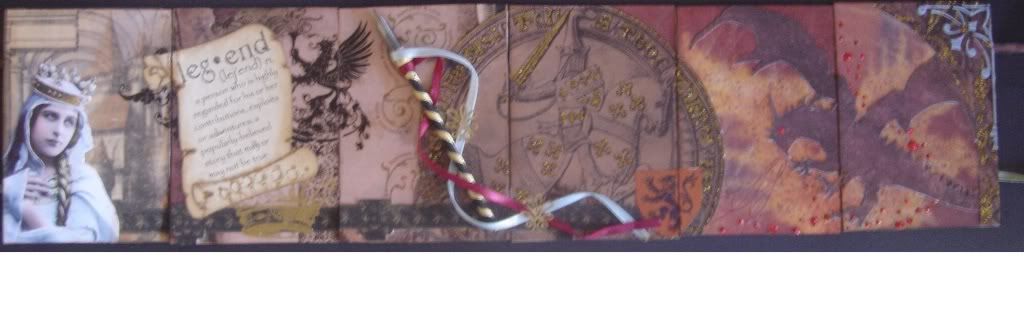
The arches behind the woman in the first card, are a rub-on I made as described in the tutorial “Create Your Own Rub-ons Using Grafix Rub-Onz Transfer Film”. The lance is made from a wooden skewer with a pen nib attached to the end.
Friday, December 10, 2010
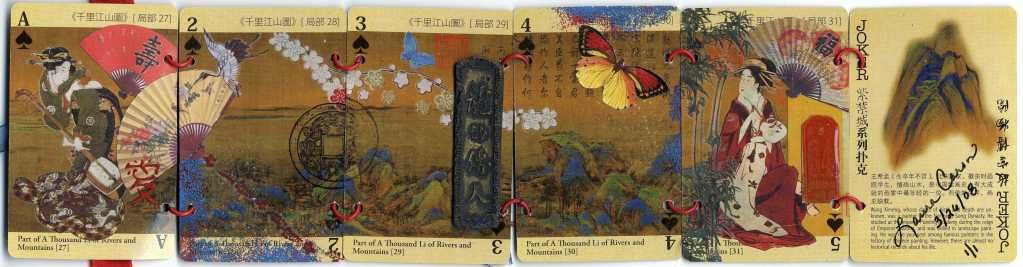
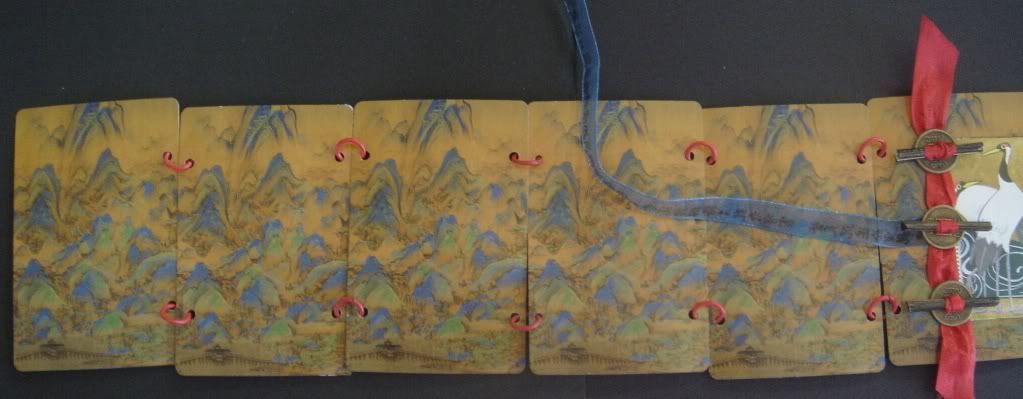
Thinking Out of the Box - Book ATCs - Geisha Themed
A fun take on ATCs is to create a book out of multiple cards. The Asian inspired ATC book below is titled “Rivers and Mountains” and is made from playing cards. Each card is attached to another card with jump rings. When creating the book I first laid out the cards side by side and taped them down with low-tac blue painters tape to keep them in place. I then collaged, stamped, embossed, and added rub-ons and dimensional embellishments. Next I punch the holes in each card and attached them with jump rings. Lastly, I decorated the front and added a ribbon to tie the book together when closed. The book folds like an accordion to close. This is just one of several ways you can create a book. To give you lots of ideas I will be posting other types of ATC books throughout the month.

Saturday, December 4, 2010
Tutorial - Create Your Own Rub-Ons Using Grafix Rub-Onz Transfer Film
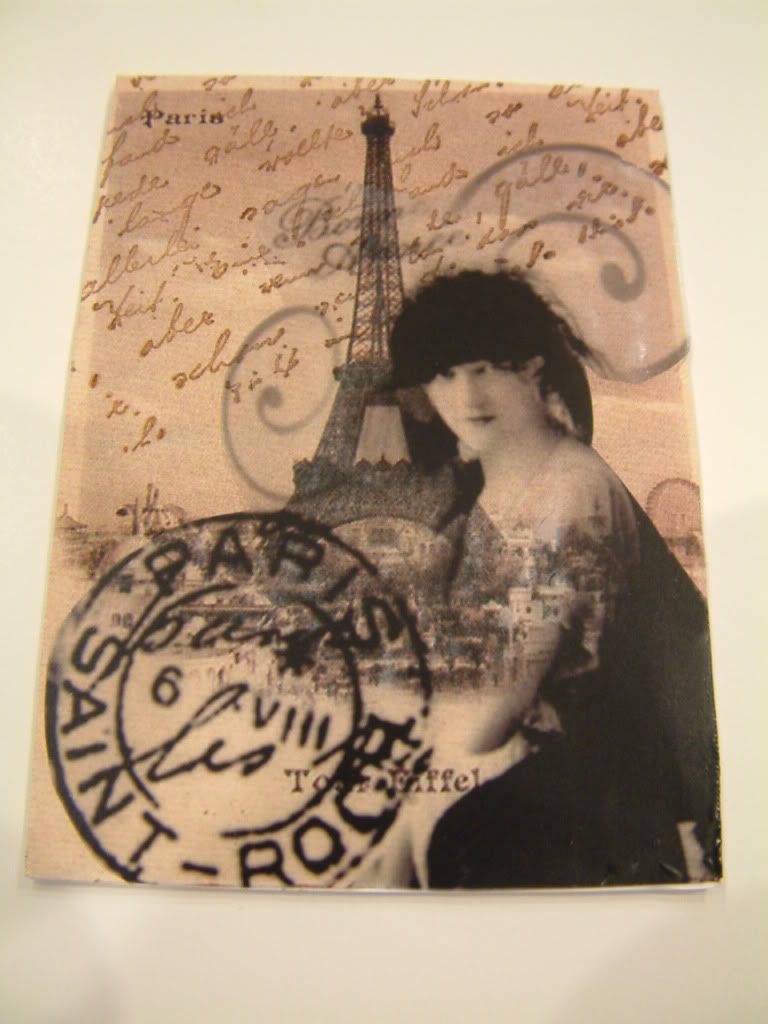
In the ATC below, the image of the woman is a rub-on I created using Grafix Rub-Onz Transfer Film and my printer. If you are like me, you have lots of images on your computer that would work great as rub-ons. It is difficult to achieve a good result with many of the other transfer methods available, such as packing tape, gel mediums, etc.
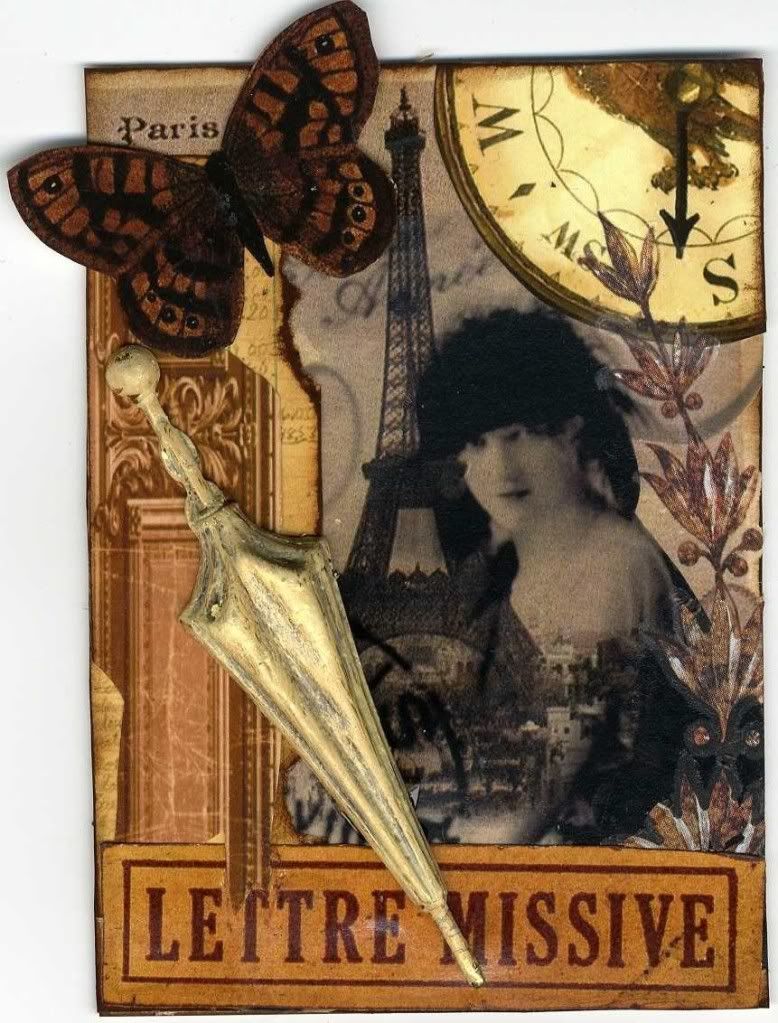
I’m going to outline how to use the Rub-Onz Transfer Film so you’ll have a general idea of how it works before investing in the product. I’ll also give you some tips that you won’t find in the product instructions.
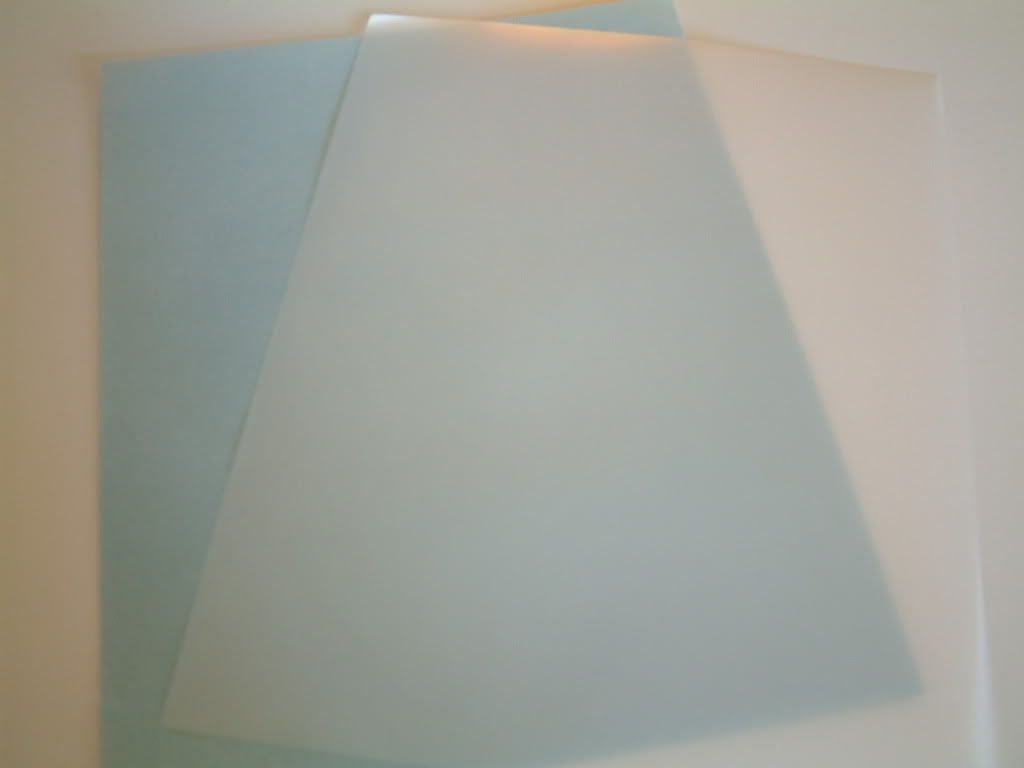
The product comes with two 8½” x 11” (letter-sized) sheets; one sheet is an adhesive film with a blue backing, and one sheet is a white frosted film. The purpose of the process and sheets is to transfer the ink from your printed image to an adhesive that you then apply to your project.
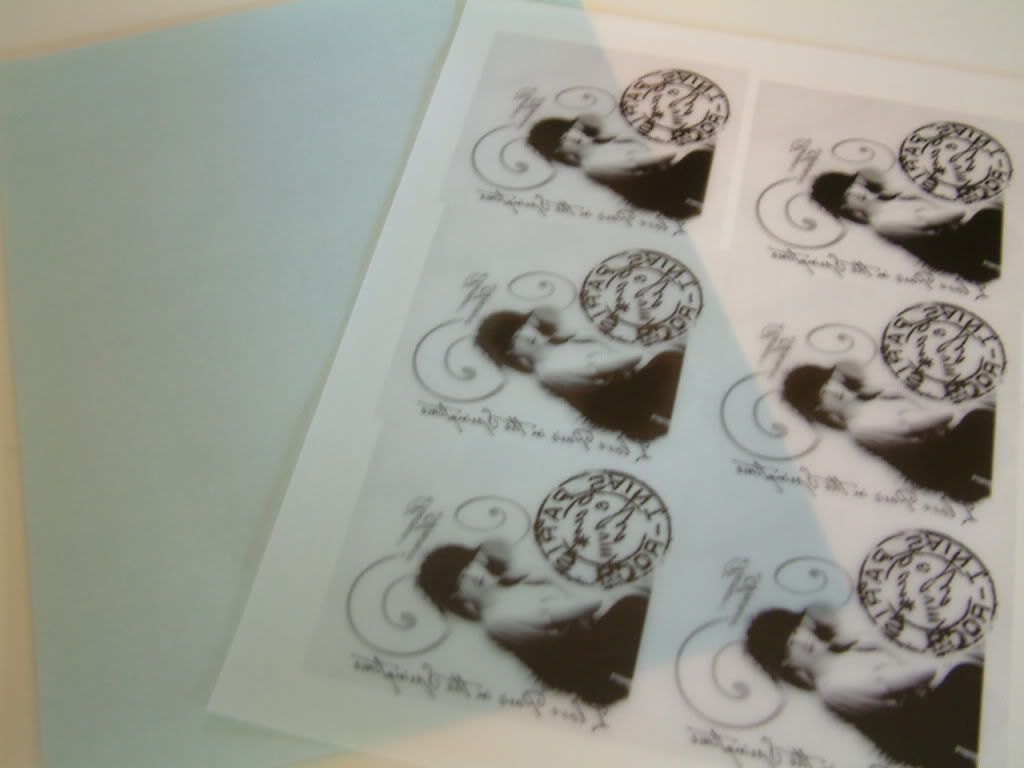
Step 1 – Print Your Images
Print your images on the rough side of the Rub-Onz film with your printer set to “Photo Paper” and the resolution at the maximum setting.
TIPS
OPTION:
Instead of printing the images, you can use a rubber stamp to stamp the image and inks (pens, markers, alcohol inks, etc.) to color the image. Use an ink like Staz-On for stamping. The steps are the same regardless of which method you use (printing or stamping). You can also print some and stamp some on the same sheet. Make sure you complete all stamping, printing, coloring, etc., before moving on to the next step.
Try to fill up the entire sheet. The product is not terribly expensive, but it’s not cheap either.
The sheet you print your images on is not the sheet that is used to apply your image. You are going to be transferring the image to an adhesive sheet, so the image will be reversed. If the direction of the image matters, either reverse your image before printing or change your printer settings to “Mirror Image” before printing.
Trying to create a transfer of text does not work unless the text is part of an image or the text has color behind it. Plain text has no ink around it, so there is nothing to stick to the adhesive.
If your printer feeder does not handle the sheet of film (one of mine did not), you can tape (removable double-sided tape) the sheet to a piece of heavier paper, and it should work.
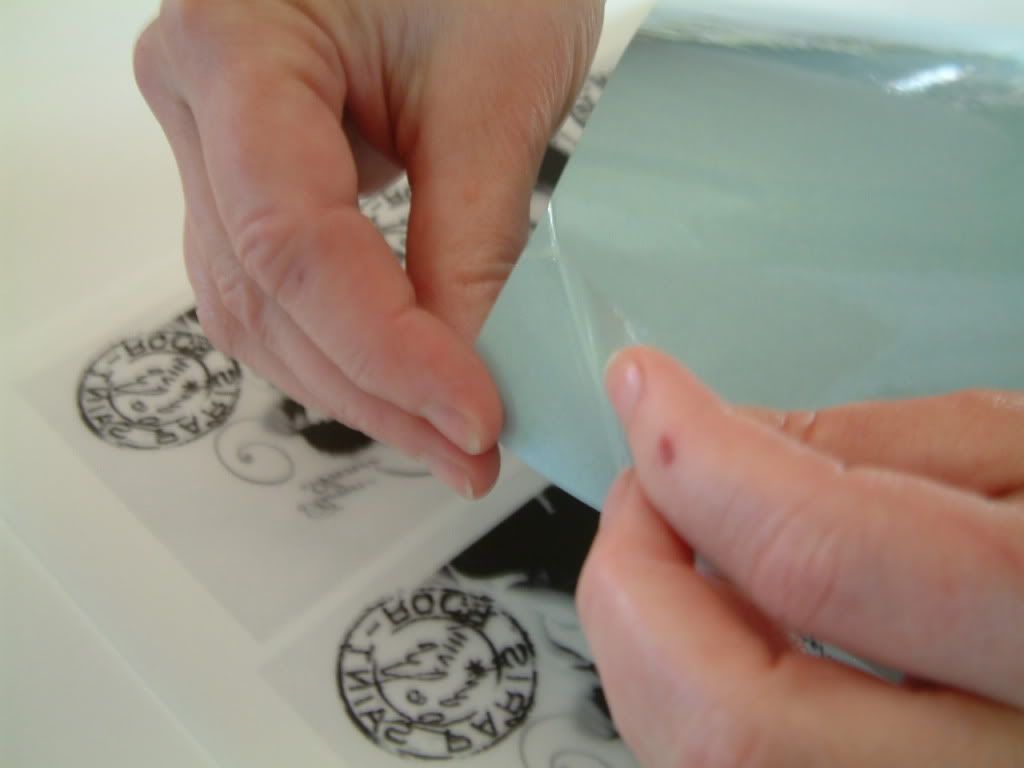
Step 2 – After printing, wait approximately 15 minutes for the sheet to dry. The time will vary depending on the dampness of your climate. You’ll then apply the adhesive film sheet from the blue sheet to the printed sheet. Start by taking the blue sheet and separating the blue side from the clear side at a corner. Only separate a small part of the sheet.
Apply the clear side of the sheet, which is coated in an adhesive, to your printed sheet.
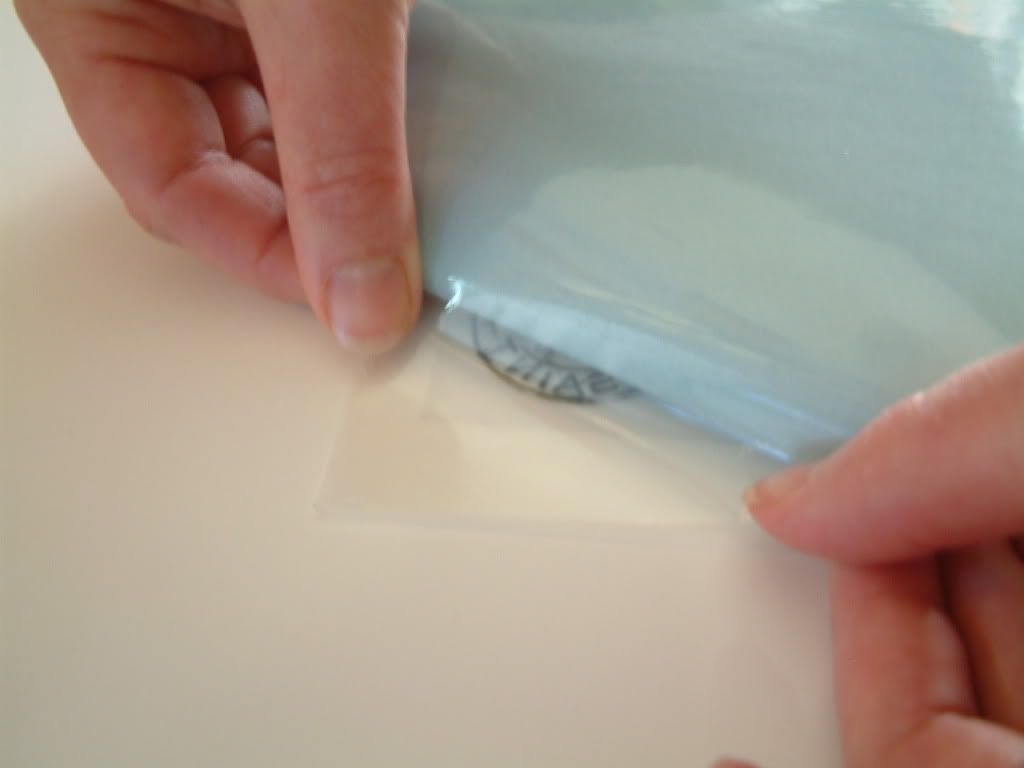
Slowly pull back the blue sheet and press the clear adhesive side onto the printed sheet. You want to avoid creating bubbles between the sheets.
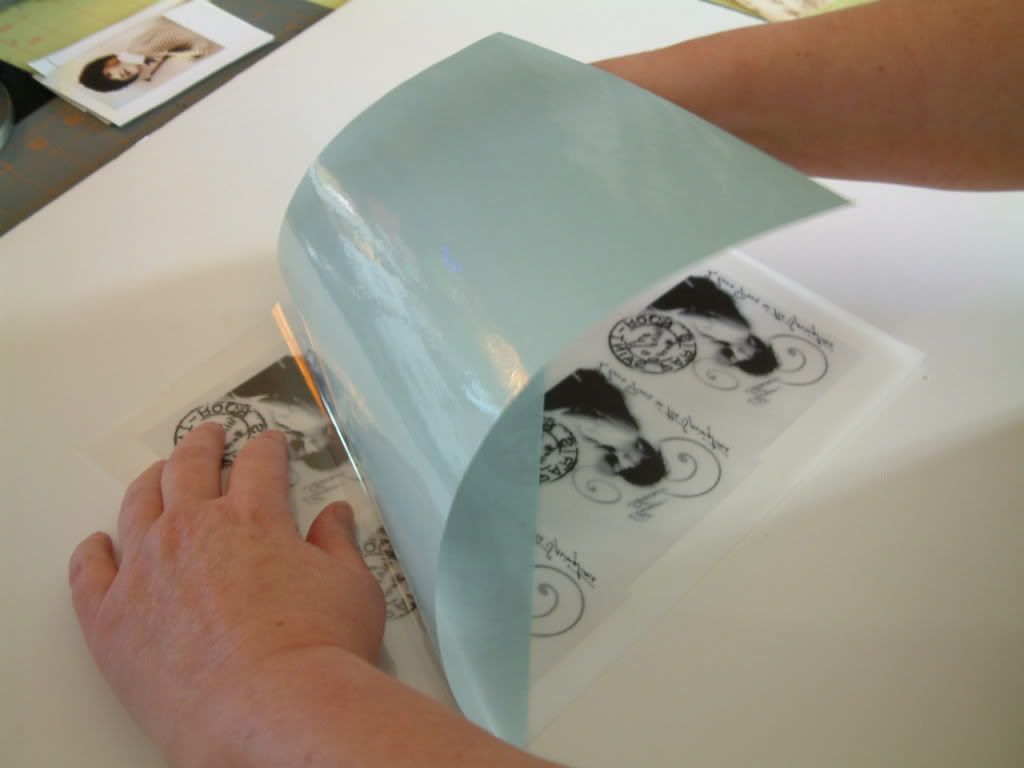
Continue until the entire clear adhesive sheet is applied to the printed sheet.
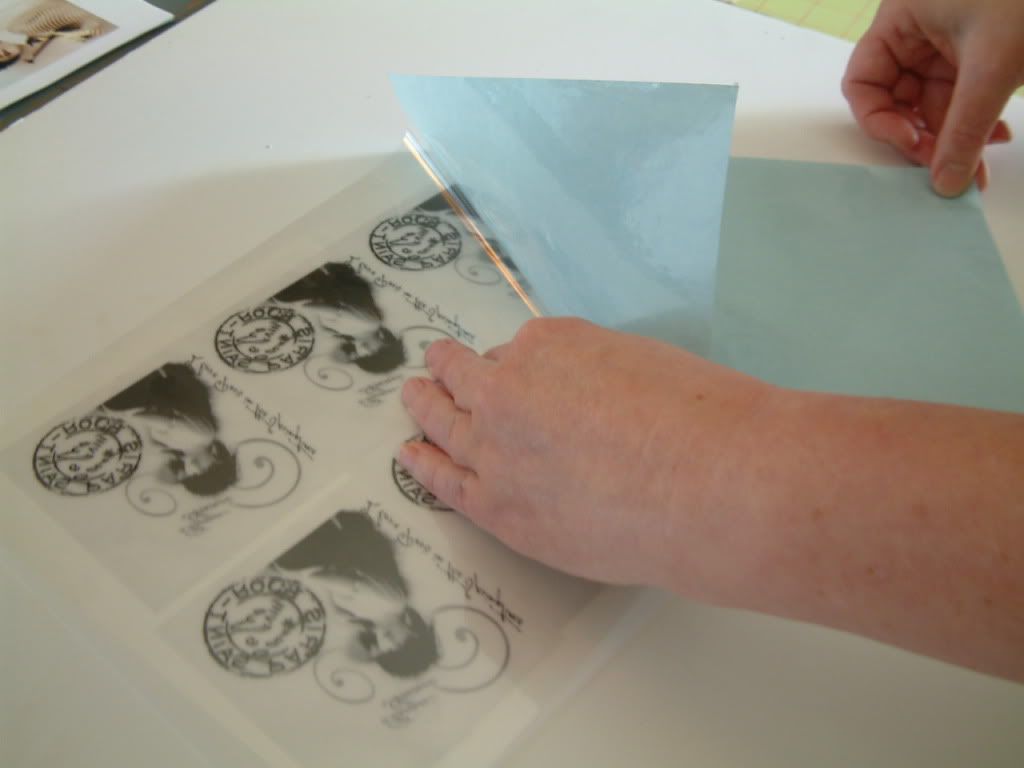
VERY IMPORTANT
Once you start applying the adhesive sheet, you cannot stop, and you can’t lift it and shift it.
Step 3 – Cut out your image. The transfer film has a slight sheen, so cut your images as close as possible.
Step 4 – Separate the transfer film from the adhesive film at the edge
Tips
· If you can’t get the films to separate, shift to a different edge and try again.
· If the films separate improperly, press them together, move to a different edge, and try separating them again.
Step 5 – Place the image (sticky side) on your project, and using a popsicle stick, rub the image until you can lift the transfer film.
To check more techniques using Grafix Rub-Onz Transparency Film, click here http://artfullymusing.blogspot.com/2010/12/tutorial-aging-and-crackling-image.html
Below is the Grafix website, where you can find sites to purchase the product.
Click here to download the PDF file of this tutorial.
Sunday, November 21, 2010
Cool Tool - Precision File Set
When cutting out non-traditionally shaped ATCs by hand, you might end up with uneven edges. Also, when you glue them together they might not match perfectly. I use sandpaper to even things up and to make minor adjustments. In addition to the sandpaper, I use a filing tool set made by Basic Grey. It comes with 5 different files that make it easy to get into small spaces. The set is available at many online stores.
Precision File Set by Basic Grey

Thursday, November 11, 2010
Tutorial - Hinged Canvas Book
This is an easy project where you hinge two artist canvases together to create a book with inside niches.
You’ll need two canvases the same size. The number and size of the hinges you need depends on the size of the canvases you choose. In this example, my canvases are 6” x 6” so I used one hinge. You can use more hinges for esthetic purposes.


- Before you attach the hinge or hinges decorate your canvases on all sides, inside and out. In the example, I painted, crackled, collaged, and embossed the canvases. Wait to add chunky embellishments until you have attached the hinge or hinges.
- Make sure you use screws not nails to attach the hinge as nails will not hold over time.
- Hold the two canvases together with the niches facing each other. You can see in the example photo below there is a gap between the canvases. The bulk of the inside canvases and any decorating you do causes a slight cap. That’s ok, without the slight gap the canvases won’t close properly. Mark the placement of the hinge or hinges by making marks in the holes then attach the hinge or hinges.
- Now you can add chunky embellishments to the outside and to the inside niches.


Click here to download a PDF version of this tutorial.
Friday, November 5, 2010
TUTORIAL - Creating a Stained Glass Look Using a Glass Slide

This example ATC contains a glass slide that has been stamped, embossed and painted with alcohol inks to create a stained glass look.
What you will need:
· Cardstock
· Decorative Paper
· Glass Slide
· Ranger Alcohol Ink
· Paintbrush
· Rubber Stamp
· StazOn Stamp Pad
· Clear Embossing Powder
· Heat Gun Step 1 – Choose a glass slide and a rubber stamp
· In the example I used a 3” long by 1” wide glass slide. You can use a different size as long as it is smaller than the card.
· Make sure the stamp you choose is one that gives you crisp edges when the design is stamped. Embossing the design creates ridges that look like the dark soldering in a piece of stained glass. The ridges also help to keep the ink in place when you paint.
Step 2 – Stamping and embossing the glass slide
Use a StazOn ink pad for stamping as it sticks to glass or plastic and just about everything else. In the example I used black. When stamping the glass, ink-up the stamp and place it on its back, then press the glass onto the stamp. For me this seems to work better than the traditional way of stamping by pressing the stamp onto the object.
· Ink up your rubber stamp
· Gently drop a glass slide onto the inked stamp

· Press the glass slide into the stamp with your fingers.

· To remove the glass slide use the tip of an X-acto knife to gently lift the slide as suction is created between the glass slide and the rubber stamp.
· Once apart immediately sprinkle the glass slide with clear embossing powder, tap off the excess and emboss with a heat gun.


TIP: If you don’t like the way you stamped or embossed the side use a razor blade and Windex to clean the slide and start over.
Step 3 – Painting the glass slide
· Use Ranger Alcohol Inks to paint the slide as they are translucent and give the slide the look of stained glass. Once you use a paintbrush with alcohol inks you can’t use it for other purposes, so just plan on dedicating a brush or two to just using inks. Decide on how intense you want the color to be. You can use Ranger Alcohol Blending Solution to dilute the color. In the example I did not dilute my inks. To clean your brush between colors you can use the Alcohol Blending Solution but I also use rubbing alcohol. It doesn’t do quite as good a job as the Blending Solution but it is much cheaper.

Other options: I also use Lumiere Paints by Jacquard in conjunction with the inks. Lumiere paints are metallic but are not translucent. I add a touch here and there as an accent. You can also add rhinestones and metal findings to the glass slide as I have done in the example.
Step 4 - Cutting cardstock and decorative paper
Once the glass slide is painted, you need to embed the glass slide in cardstock. The cardstock needs to be the same thickness as the glass slide.
· Cut multiple pieces of cardstock to the standard ATC size of 2 ½ x 3 ½. In the example I needed 4 pieces of cardstock to match the thickness of the glass slide. The amount you need depends on the thickness of the cardstock.
· Next, cut holes in the cardstock the same size as the glass slide. In the example the holes are 1” x 3”. Decide where you want to embed the slide (right side, left side, middle, etc.) Make sure there is at least ¼ inch between the edge of the hole and edge of the ATC.

· Cut two pieces of decorative paper ATC size (one for the front of the card and one for the back). Cut the holes slightly smaller than the glass slide. Cutting the decorative paper slightly smaller keeps the slide from falling out. Make sure you cut the holes in the same place as the ones you cut in the cardstock. If you are collaging the paper, stamping, embossing etc., do this before cutting the holes. Bulky embellishments can be added later. In the example, I decided to cut the hole in an oval shape rather than a rectangle.

Step 5 – Assembling the card
· Glue the pieces of cardstock together.
· Insert the slide in the cardstock.

· Glue the decorative paper to the front and back of the cardstock.

I purchase my Glass Slides, StazOn Ink, Alcohol inks and Lumiere paints from
The metal scroll on the woman’s head came from CollageStuff
Click here to download a PDF version of this tutorial.
Subscribe to:
Posts (Atom)