Here come sassy ladies in
their fur coats and baby it’s cold outside!
I imagined that these ladies are out shopping, meeting friends and
having a great time in the wintry holiday weather.

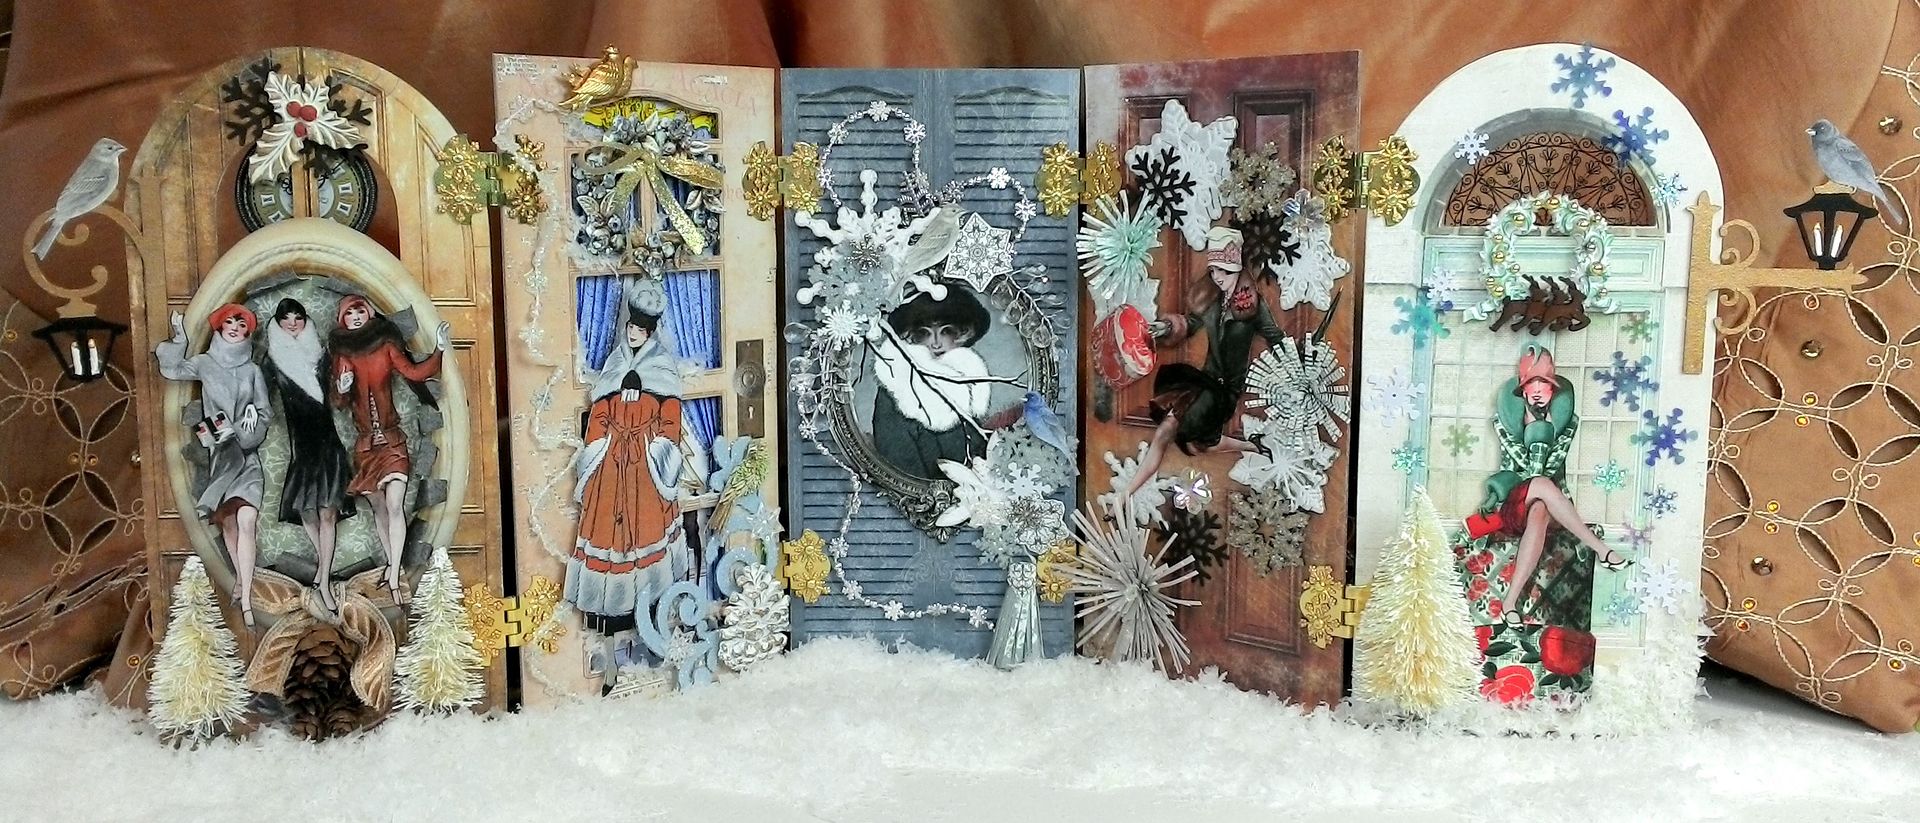
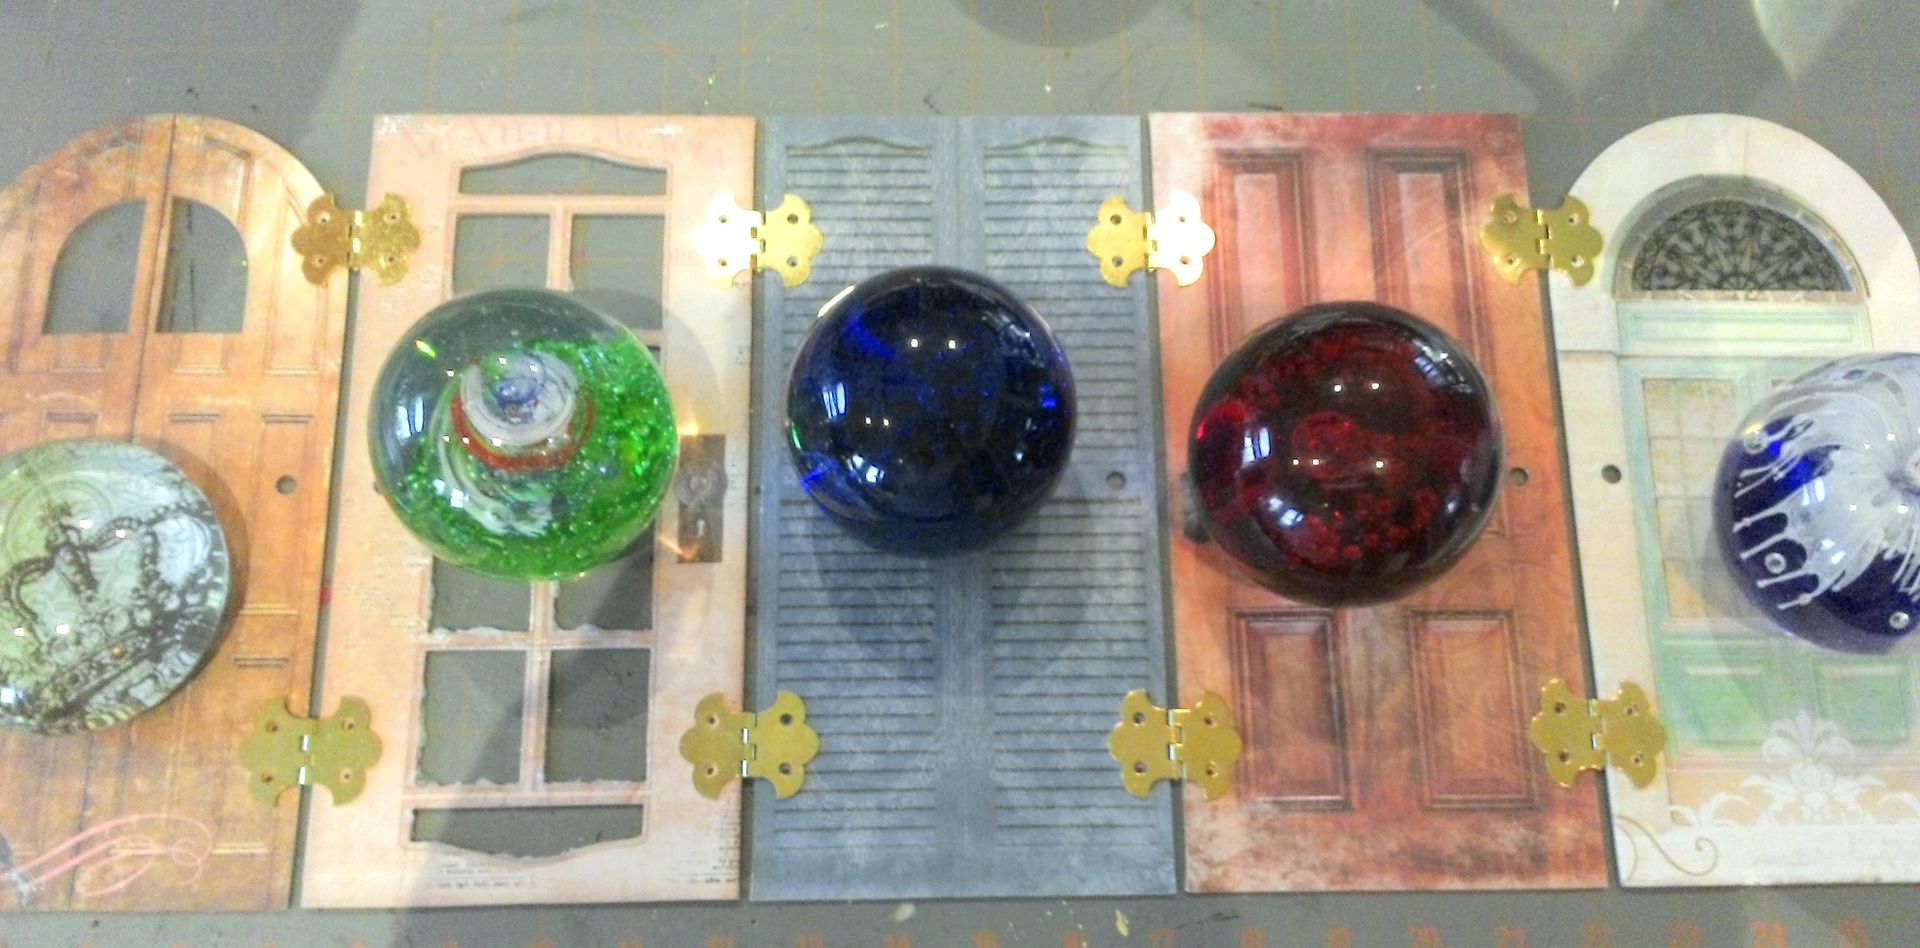
This piece is made from a
door album with the pages hinged together to create an accordion-folded
display. I love using architecture for a
backdrop. By hinging the doors together
rather than assembling them as a book, it allows for the use of large dimensional
embellishments, plus you can see everything at once. I’m thinking this would make a great display
on a mantelpiece or bookshelf.
I also decided to go with
nontraditional holiday colors and a design that was more winter oriented as I
can image leaving this up beyond Christmas.
I took my color inspiration from the door book and the Glistening 6 x 6 paper pad with its blue, grey, tan and cream color scheme; a perfect way to
show off lots of snowflakes.
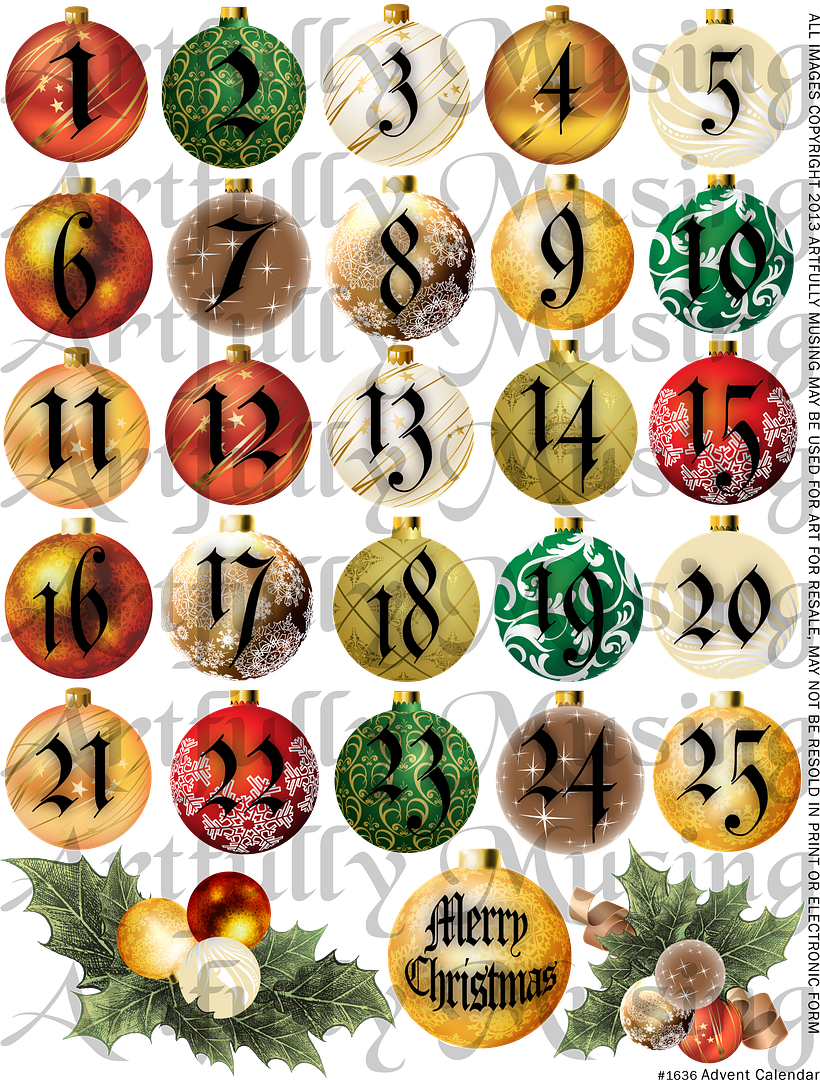
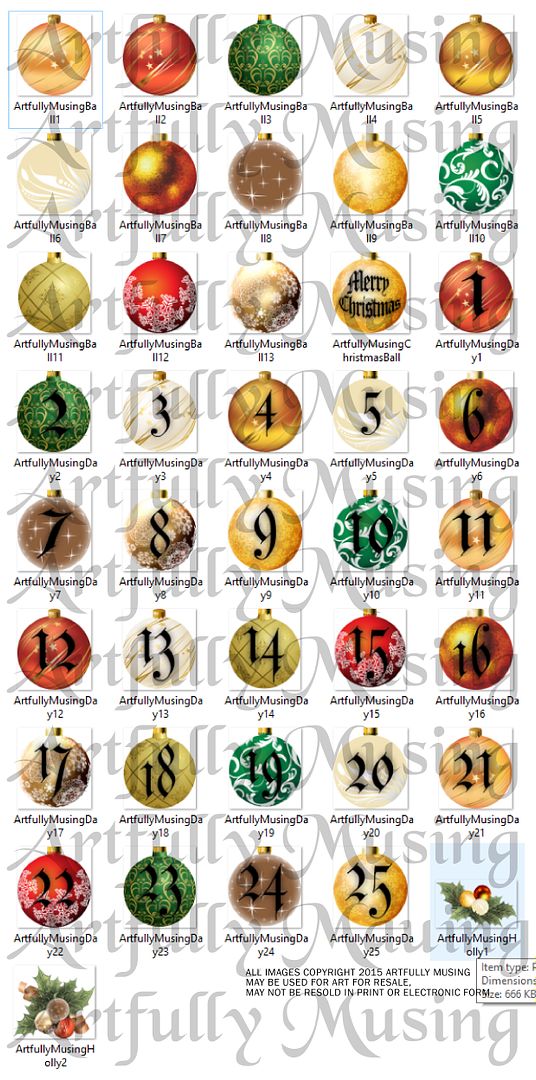
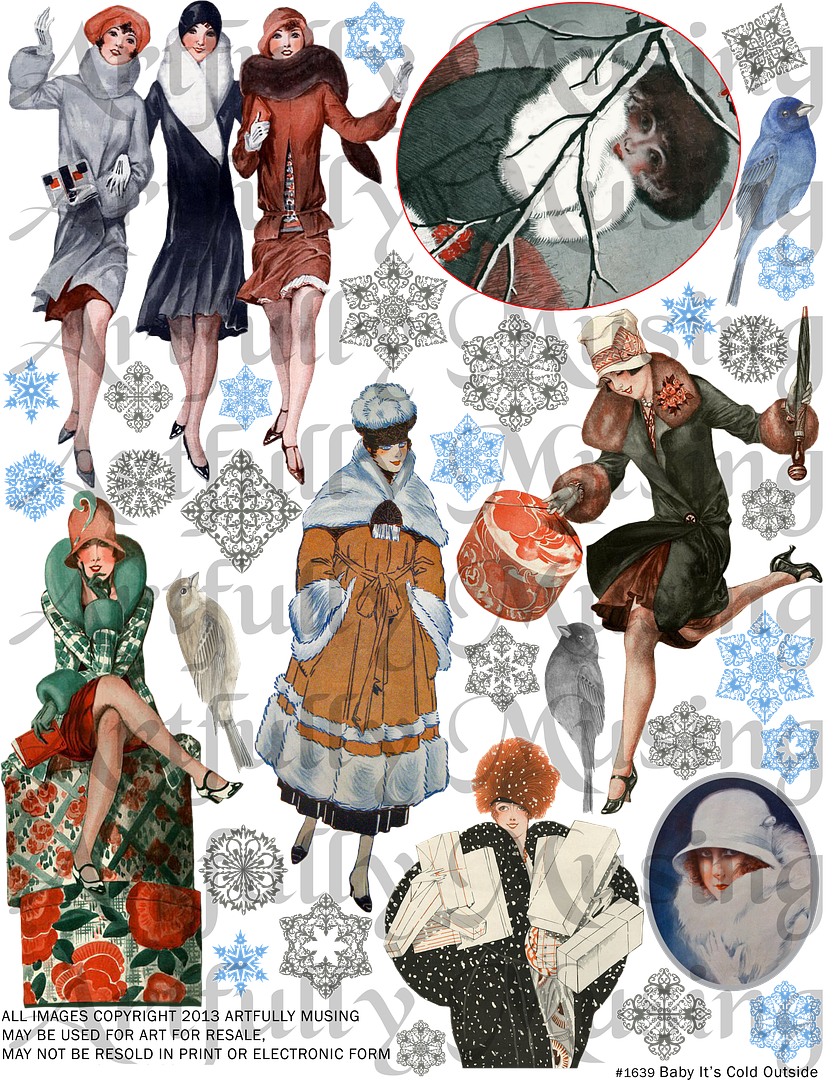
This sheet is filled with 1920's women dressed in coats. Also included are snowflakes & birds.
Design Details and Paper Embellishment
Tutorials
In addition to walking you
through the construction and design of each of the doors, I will also cover how
I created the paper embellishments.
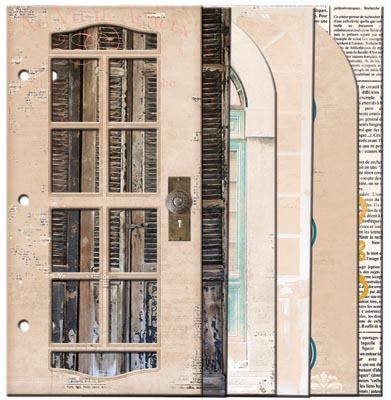
The size of each door is
approximately 10’5” x 7.25”. The set
comes with six doors and each door has a different design on each side. My first challenge was to choose the sides I
wanted to use for the front and to narrow it down to 5 doors (I like odd
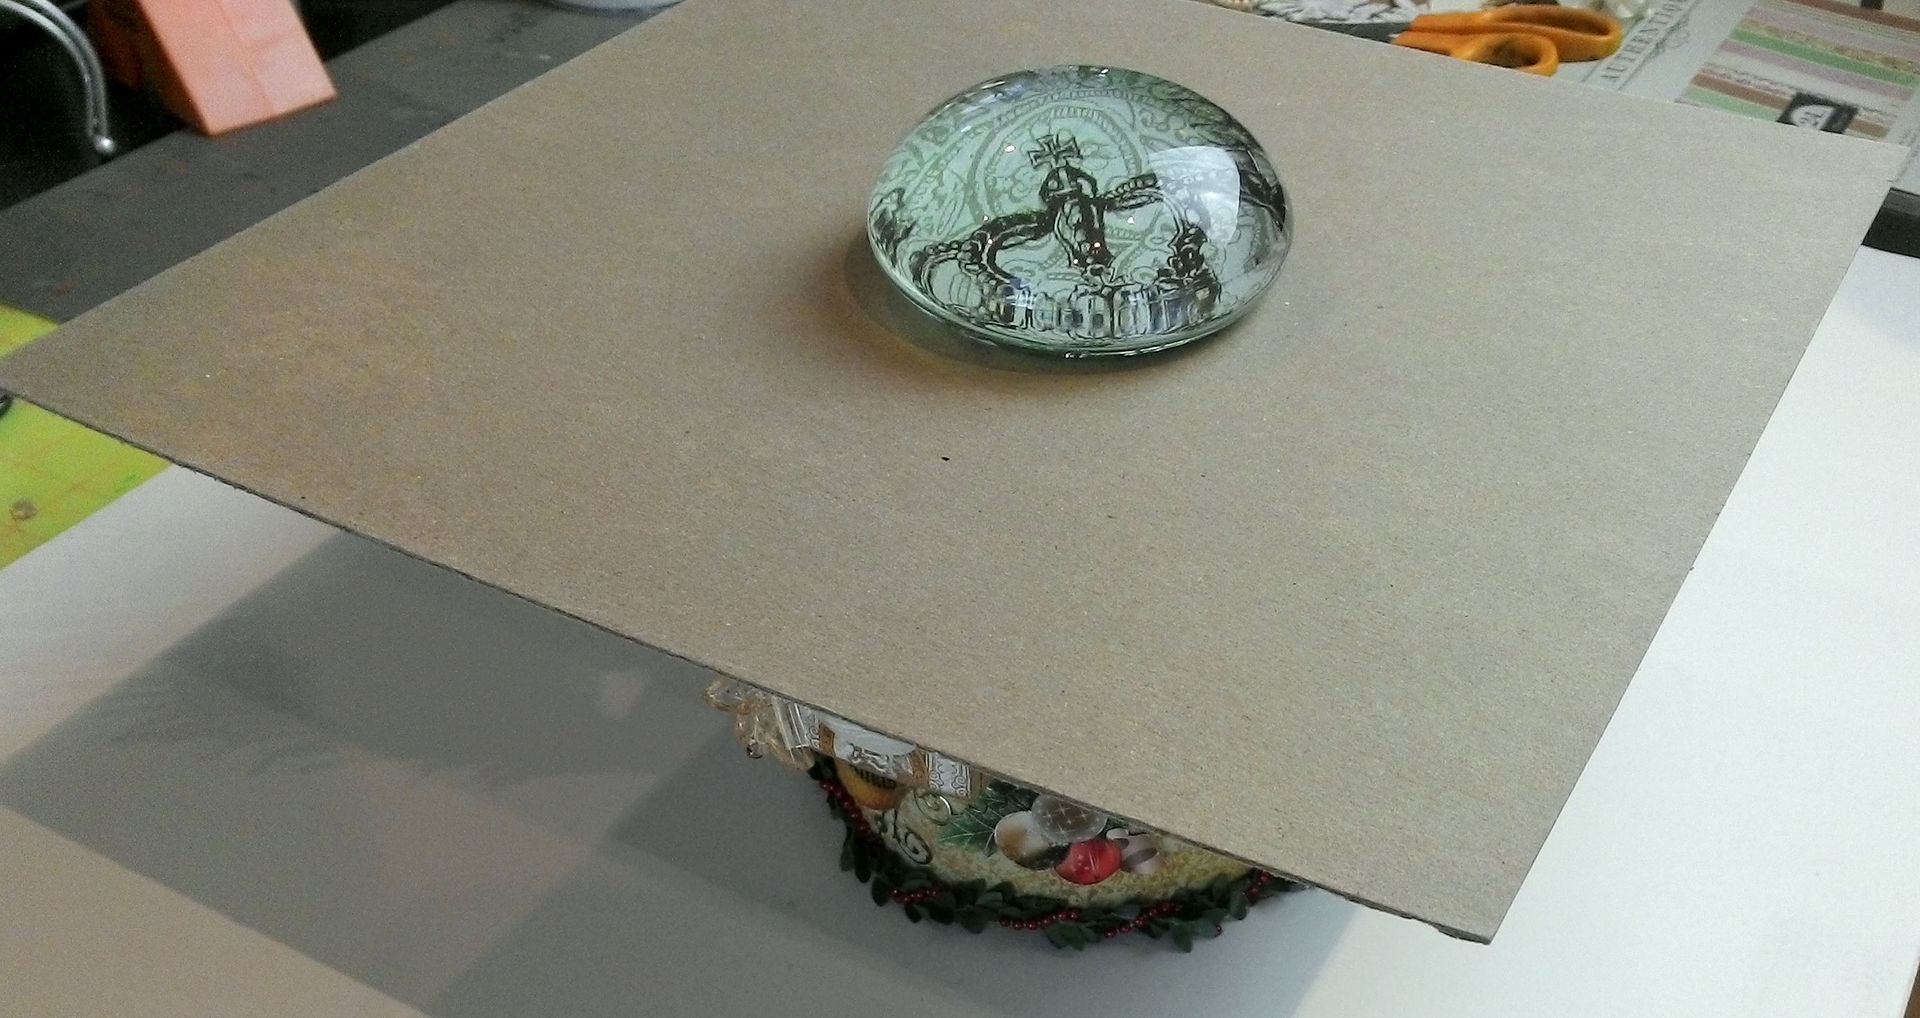
numbers). Next, I laid them out in order
and marked the placement of the hinges. Using paperweights helped keep the doors
from shifting as I marked the holes. I
placed the hinges so that they covered up two of the three holes in each
door. I used embellishments to cover up
the remaining hole.
Door #1

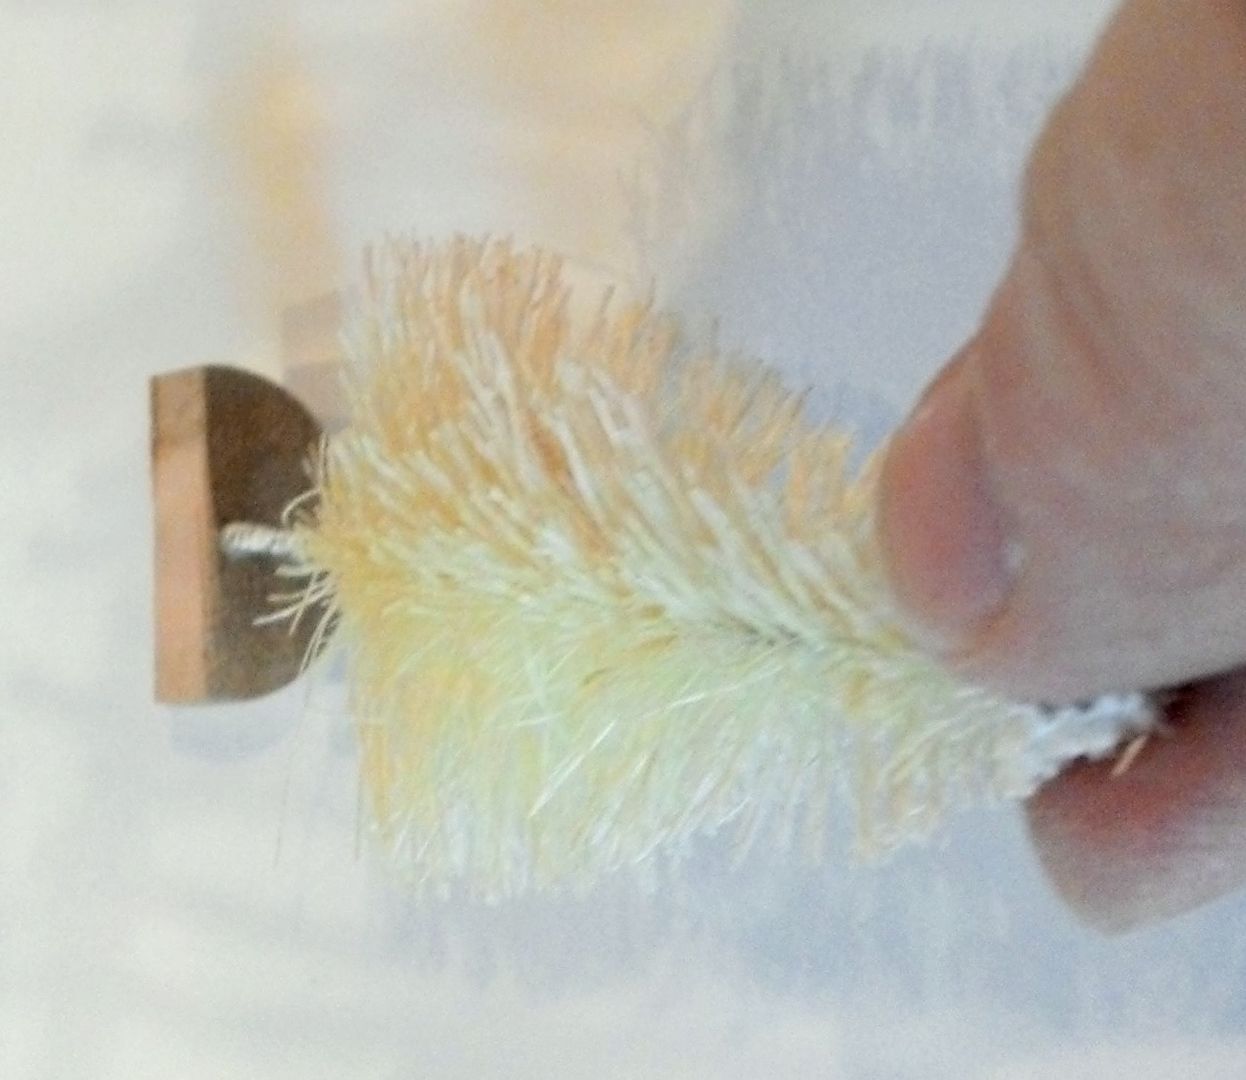
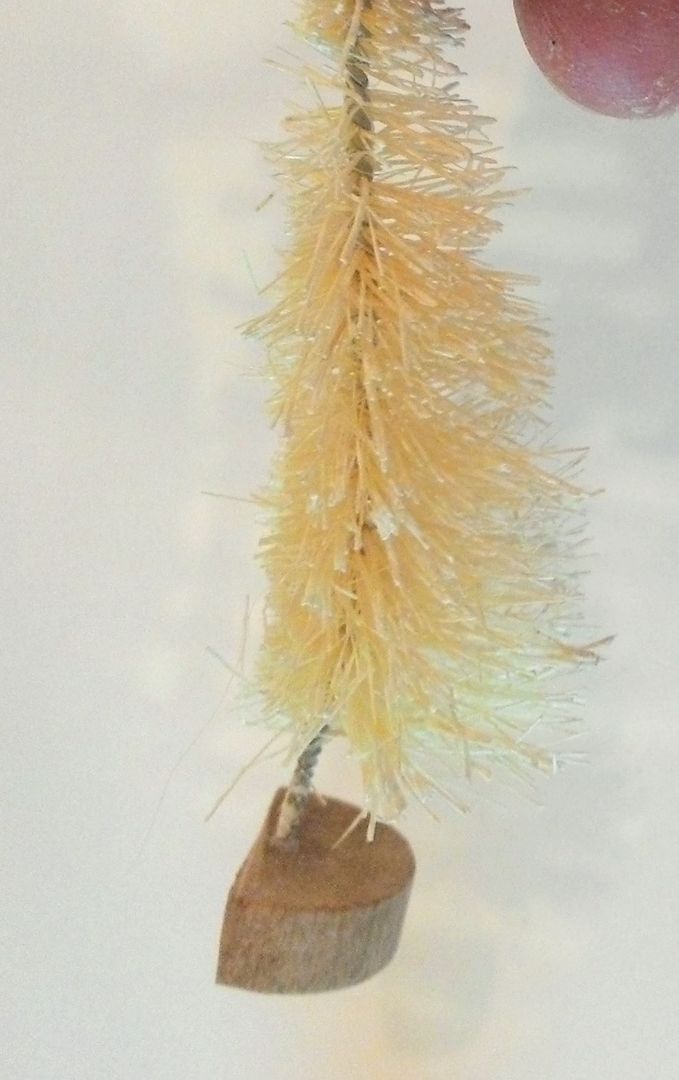
The bulkiest embellishments I
used were bottle brush trees. Before attaching them to the
door, I cut away almost half of the base and the bristles on the back of the
tree. These mods allowed the trees to
sit flush against the door.
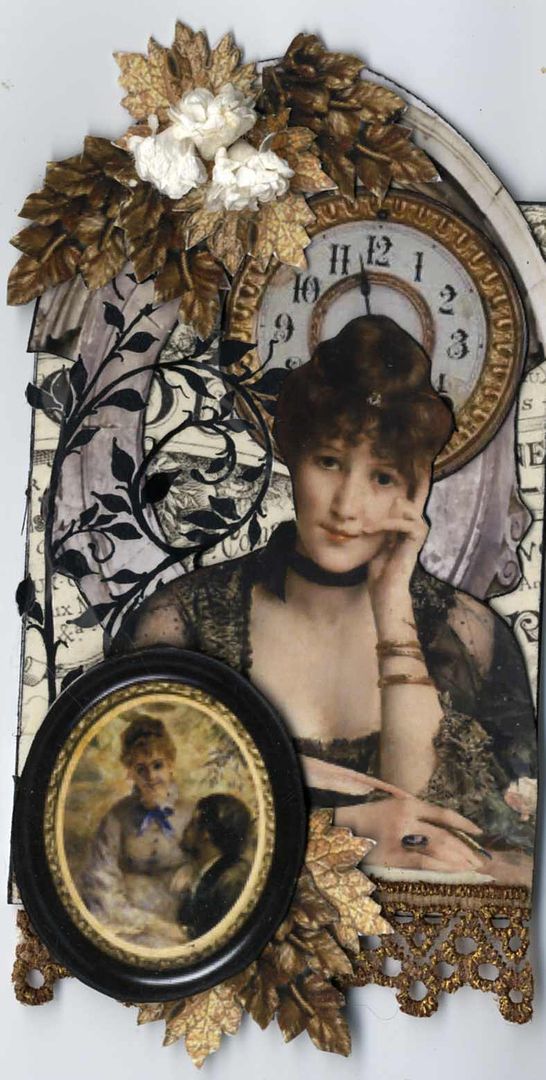
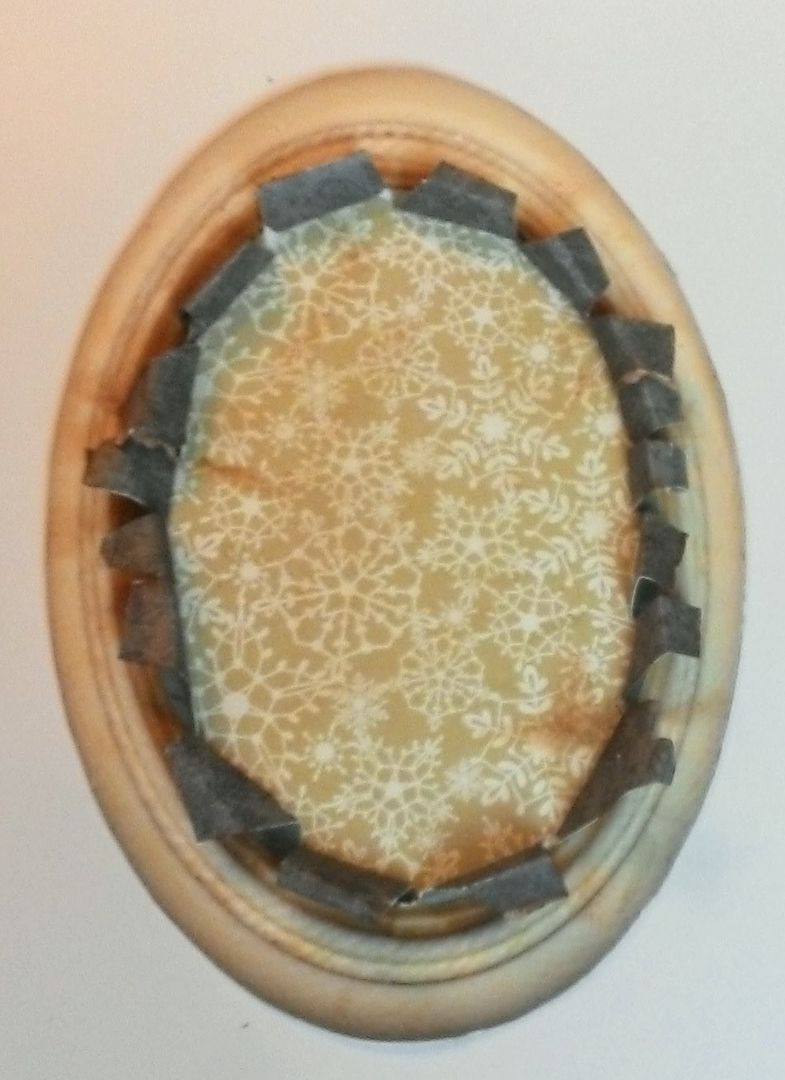
To make the ladies pop, I
used a frame and paper cutting technique.
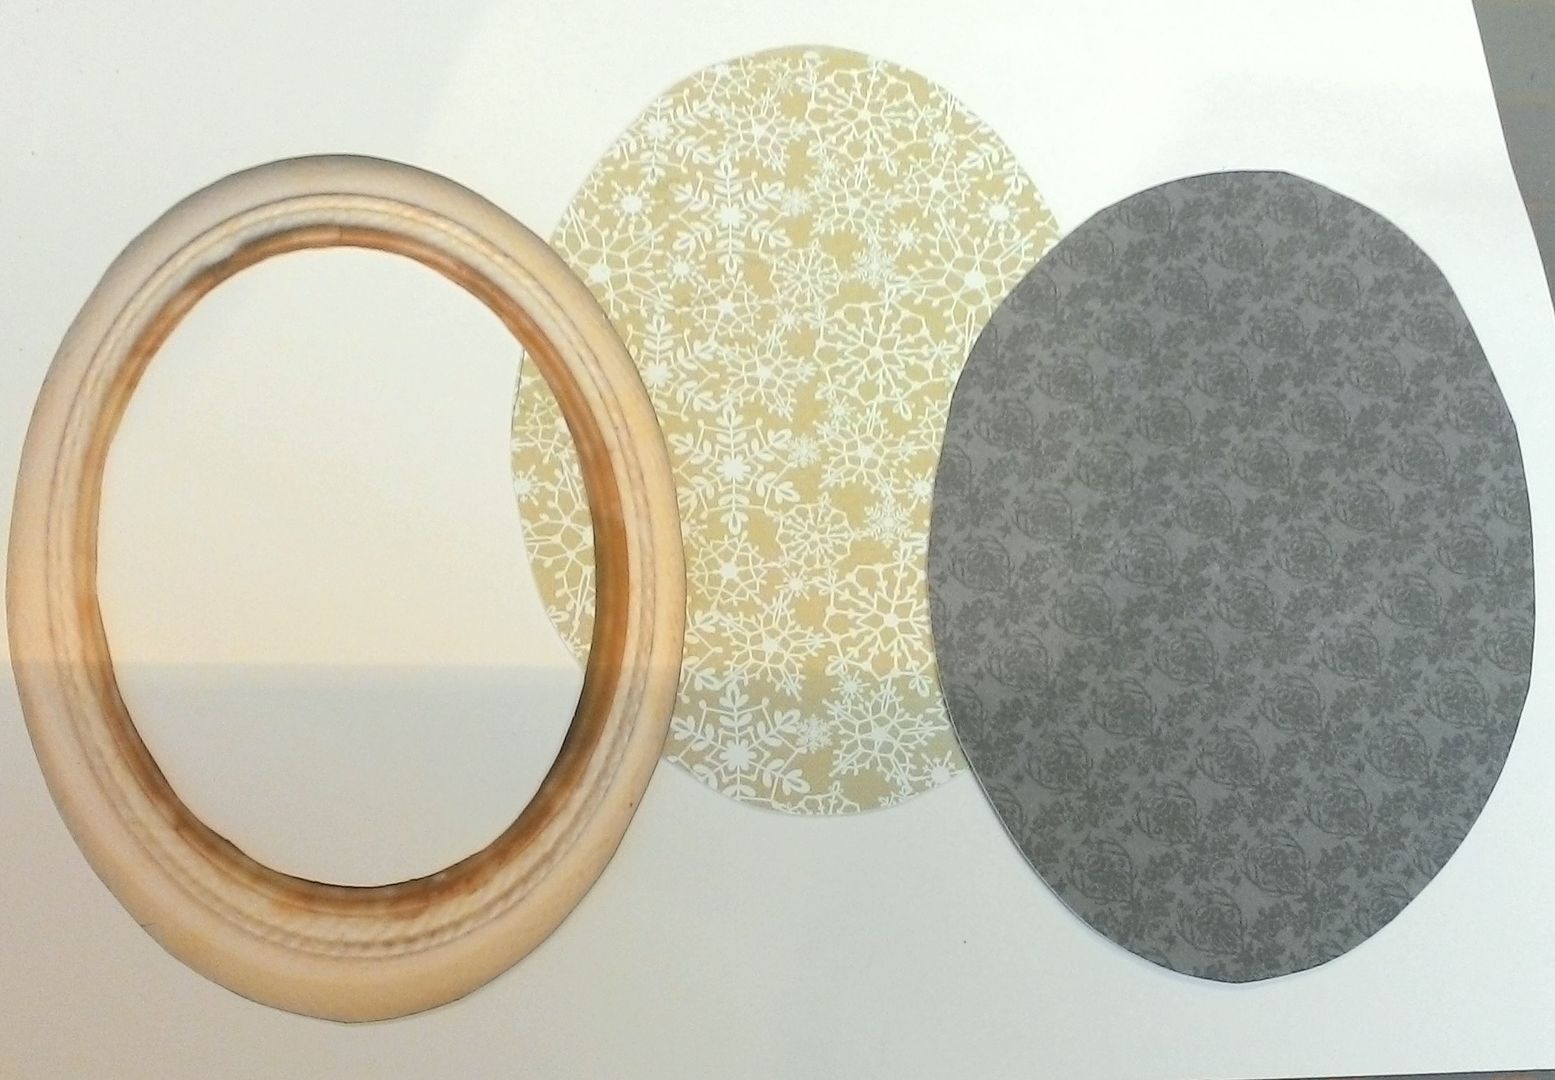
First, I resized and printed a frame from my Antique Frames digital image set. The frame is
round in shape but I enlarged it and stretched it into an oval. Next, I cut two different pieces of pattern
paper from the Glistening paper pad. The
pieces are slightly smaller than the frame.
One piece serves as the background (tan and white snowflakes) and the
other serves as the piece that curls out of the frame (blue-grey snowflakes).
Using an X-acto knife, I
precut lines in the center of the blue/grey paper to facilitate tearing. Only cut the center section of the paper and
not towards the edge where the fame will cover the paper.
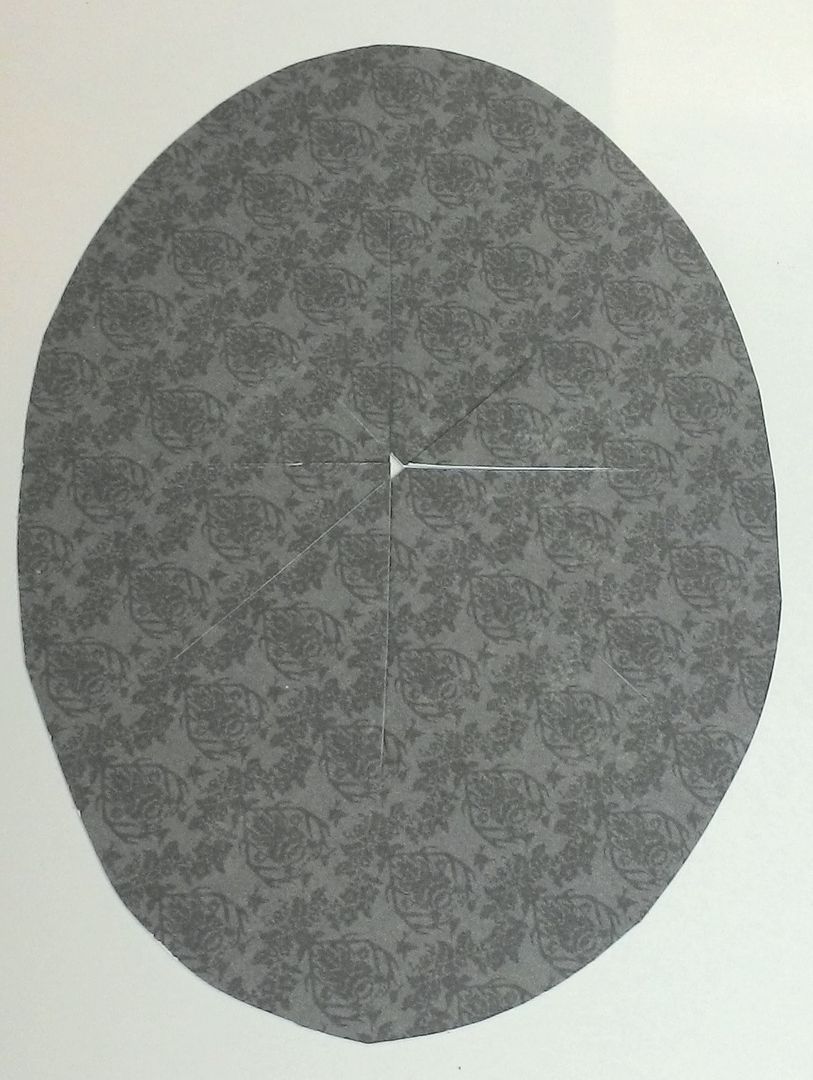
Next, I flipped the blue/grey
paper over and glued it to the tan/white piece.
Glue only around the edges of the paper.

Glue the frame to the paper.
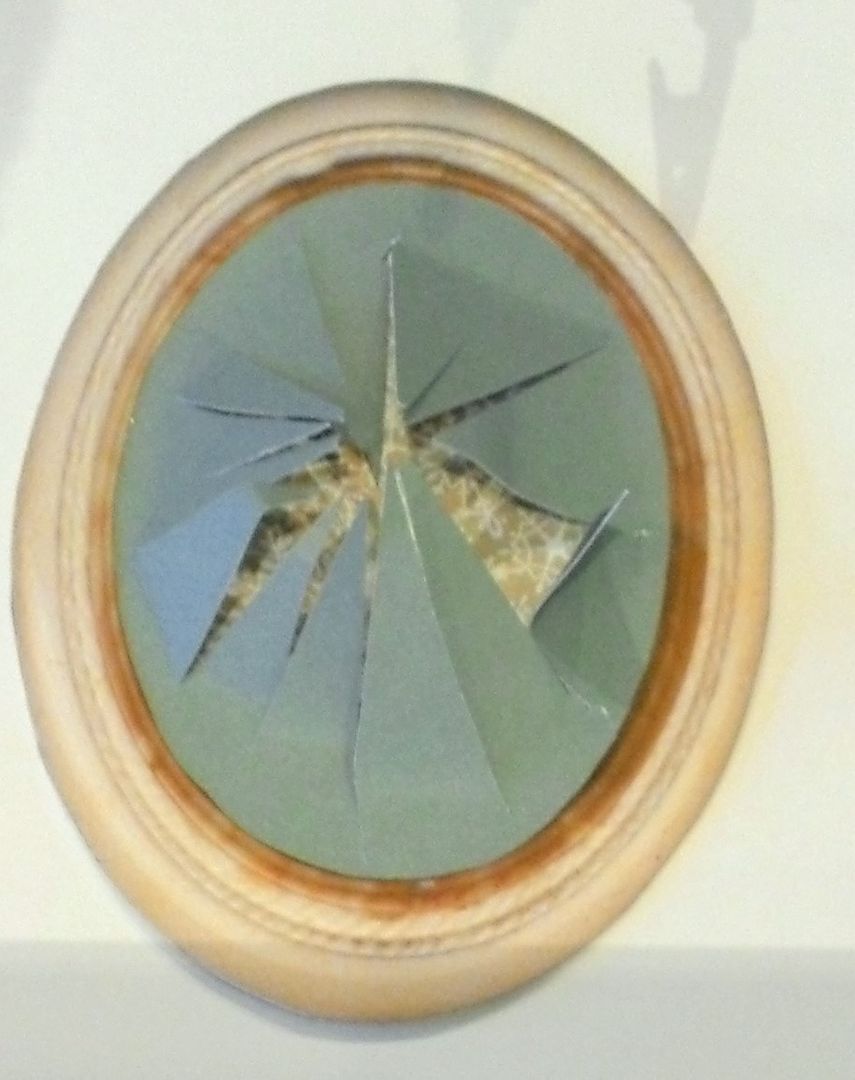
Tear back the pieces of the
blue-grey paper. Tear off the excess at
the ends and curl the paper over the frame.
I also inked the edges of the paper.
Now the frame is ready to attach
the images of the ladies. I finished
dressing up the piece by adding the miniature pine cones and ribbon. Also, notice that this door has openings cut
in the top which allowed me to attach a clock to the
backside of the door.
Collage Sheets Use
Door #2
This was one of my favorite
doors because so much of it is cut out.
On the backside of the door, I attached a scene of blue curtains and a
table. On the table
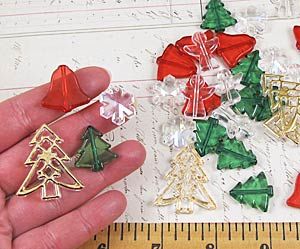
is a Christmas tree. This is one of the
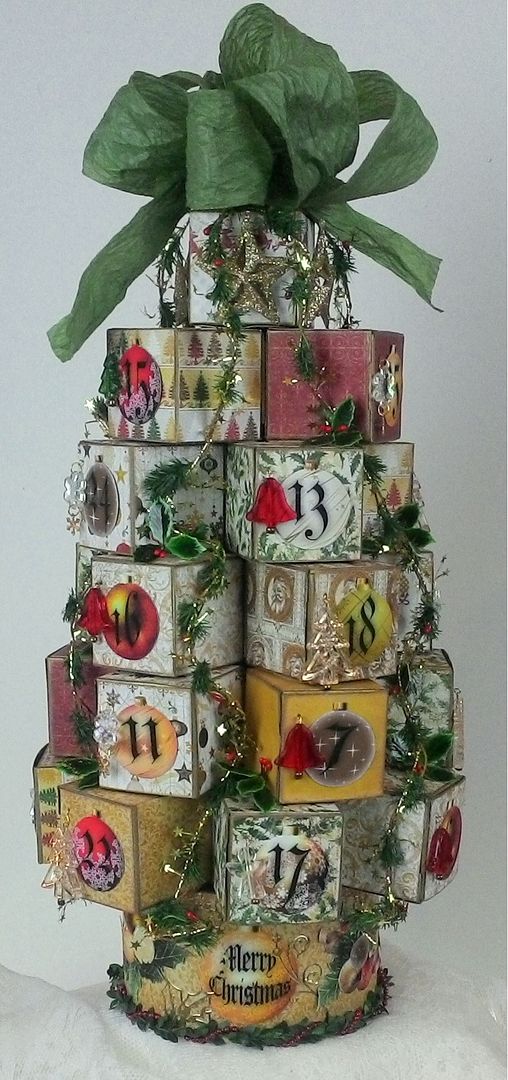
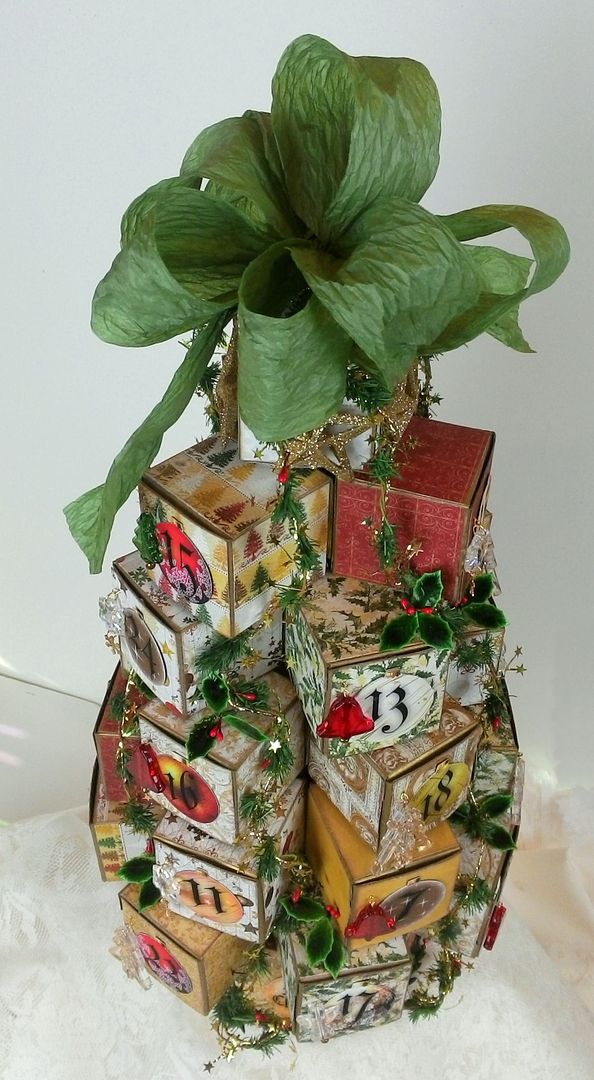
tree charms you saw me use for the Advent Calendar project. I used foam
core tape on the window scene to separate it from the door adding depth and
creating space to accommodate the tree charm.
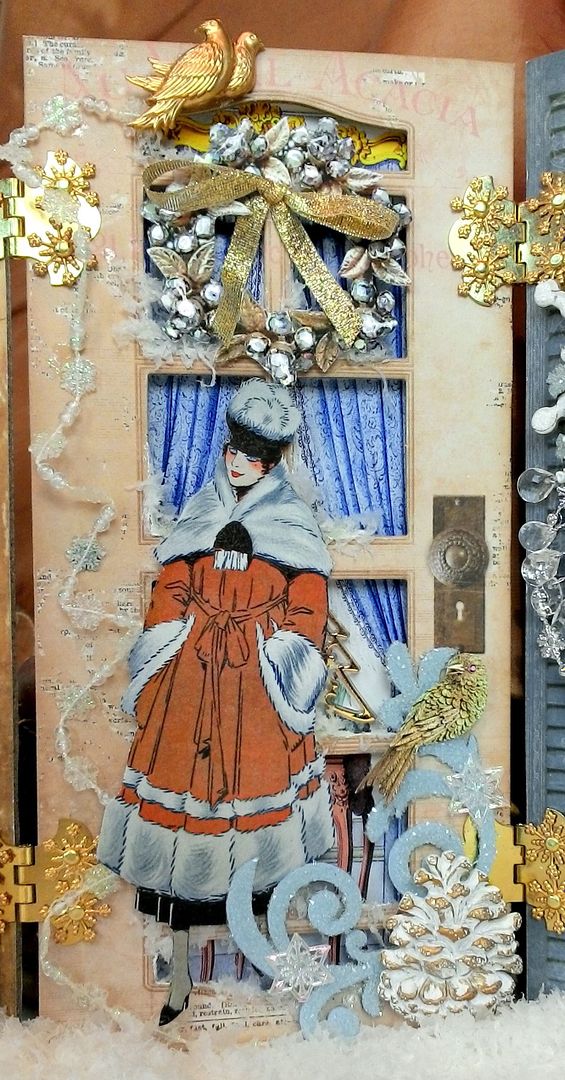
The swirls at the bottom are
painted blue then coated in Twinklets Diamond Dust (one of my favorite
products) using Glossy Accents.
The wreath and gold bird at
the bottom are from my Bejeweled collage sheet. I added depth
to the jewels in the wreath by applying Glossy Accent.
COLLAGE SHEETS USED
Bejeweled Collage Sheet - Wreath
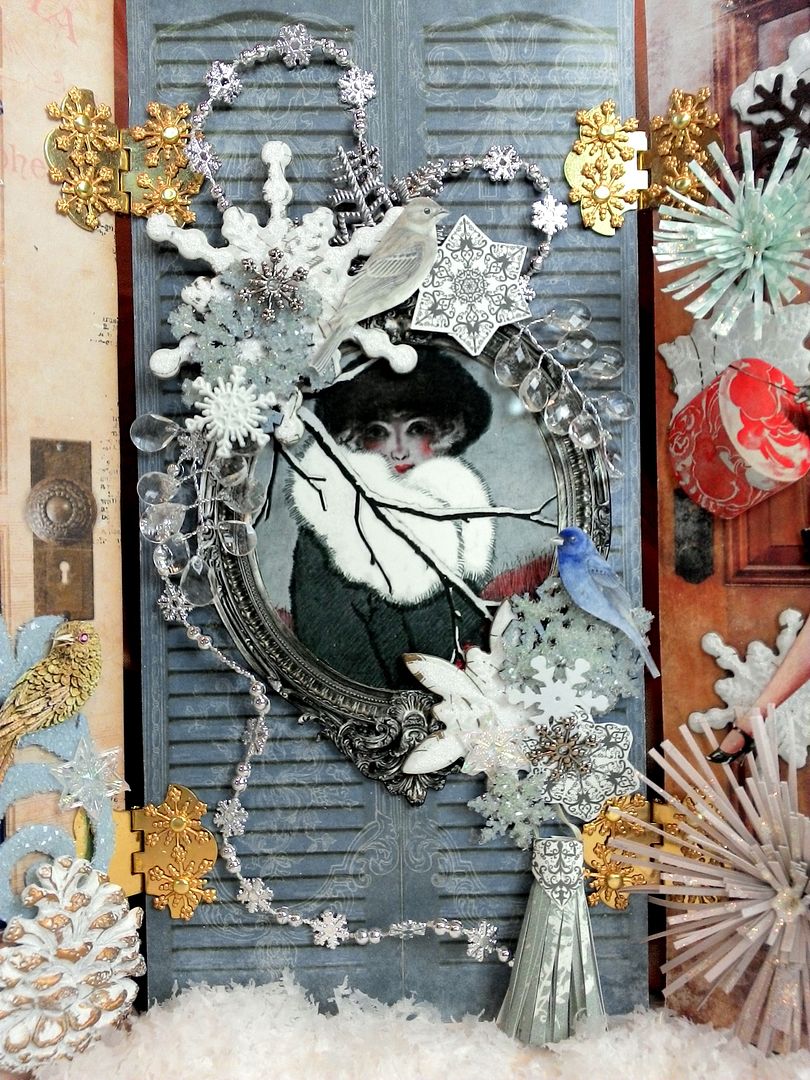
Door #3
Of all of the doors, this one
is probably my favorite design. I think
it is because of all of the snowflakes.
Some of the snowflakes and the birds are from the new collage sheet. Again I’ve used a frame from my Antiques Frame Digital image set to accent this lovely lady.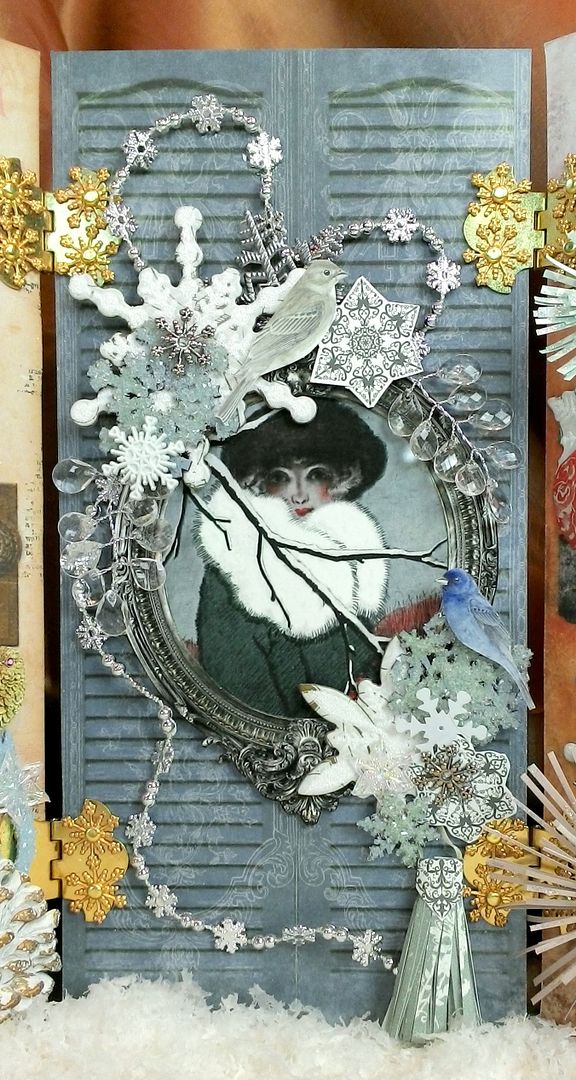
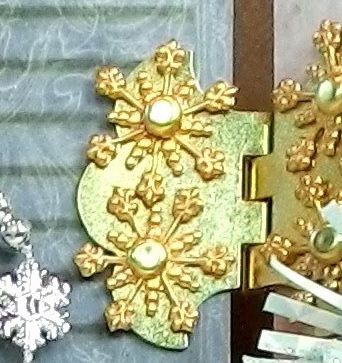
One type of snowflake I used
was made from chipboard. I painted the snowflakes
blue and coated them in Diamond Dust (using Glossy Accents) to give them
sparkle.

The tassel at the bottom is
one that I made from the paper pack.
Below is a quick video showing you how to make a paper tassel.

COLLAGE SHEETS USED
Door #4
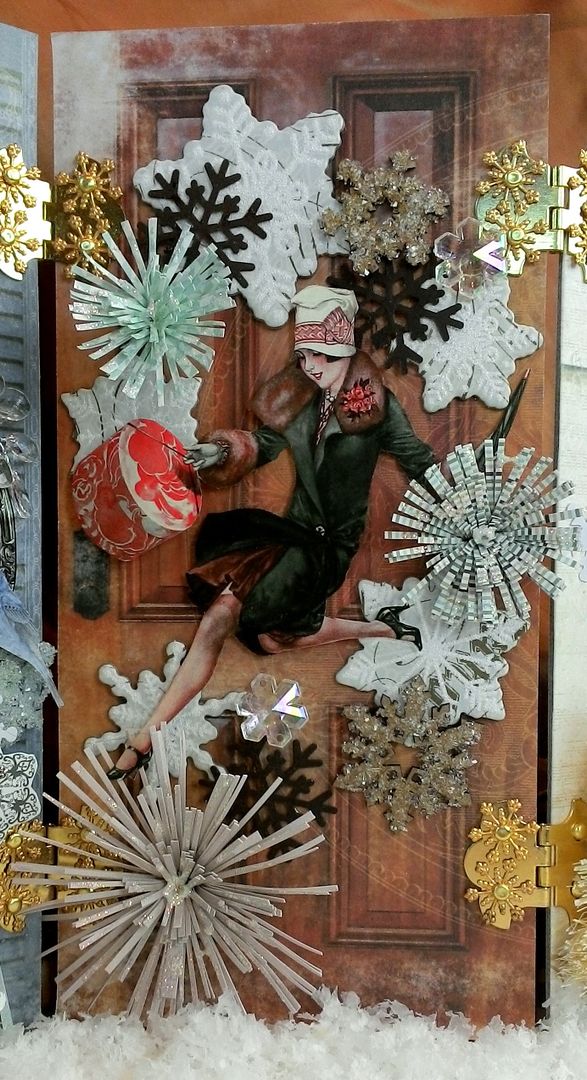
I attached several different
types of snowflakes to this door including the paper snowflake sprays before
attaching the image of the lady with the hatbox. After attaching her, I added more snowflakes
to finish the door.
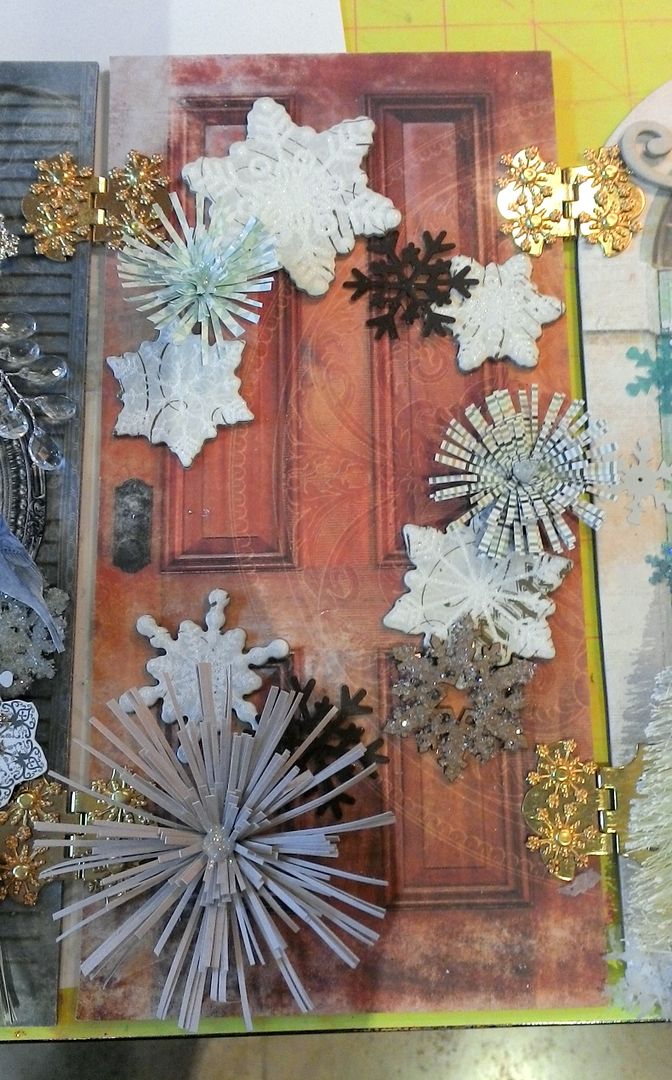
The snowflake looking sprays
are made from paper. Below is a short
video on how to make them.
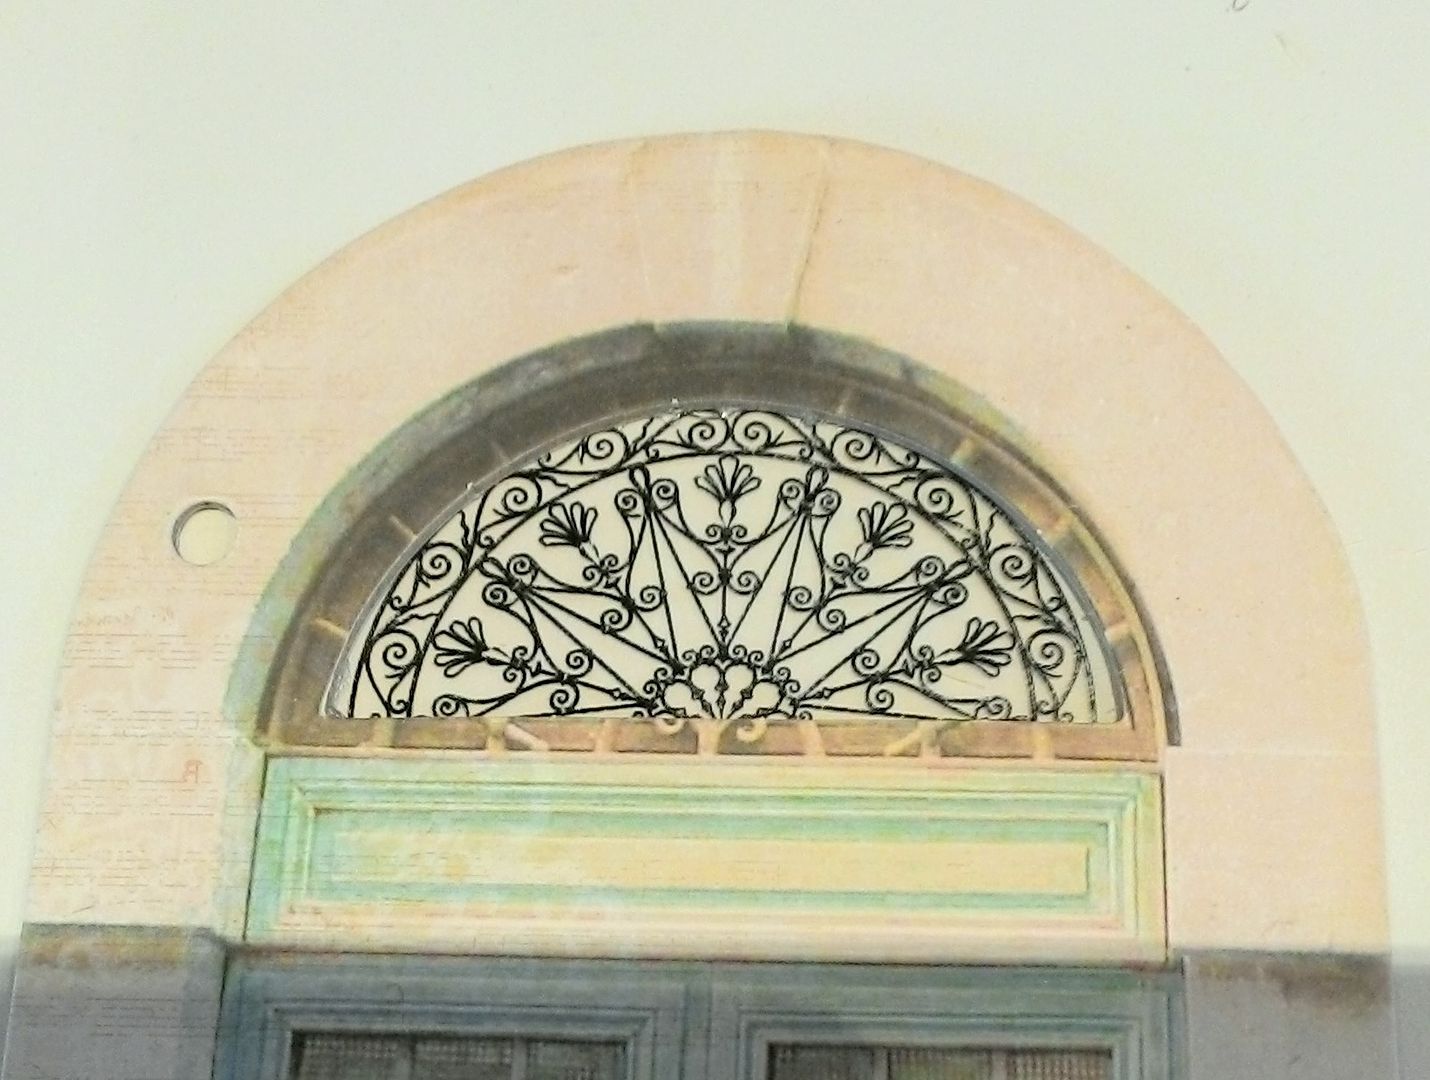
Door #5
This is probably my favorite
door as I love its color and style and of course the cutout at the top. The sassy lady sitting on the hatboxes in the
snow is perhaps waiting for someone to come home and let her in? To this door and the first door I attached
chipboard lanterns. The candles in the
lantern are made from beads and the flame is yellow paint. The snowflake sequins are attached using
Glossy Accents. I used my finger to
apply paint to the raised areas of the wreath and attached gold beads and a
reindeer button.

On the backside of the door
behind the cutout, I attached the grill workpiece that came from the transparency.
I hope you enjoy this project and stay tuned for more
seasonal project ideas and tutorials.